Instruction
1
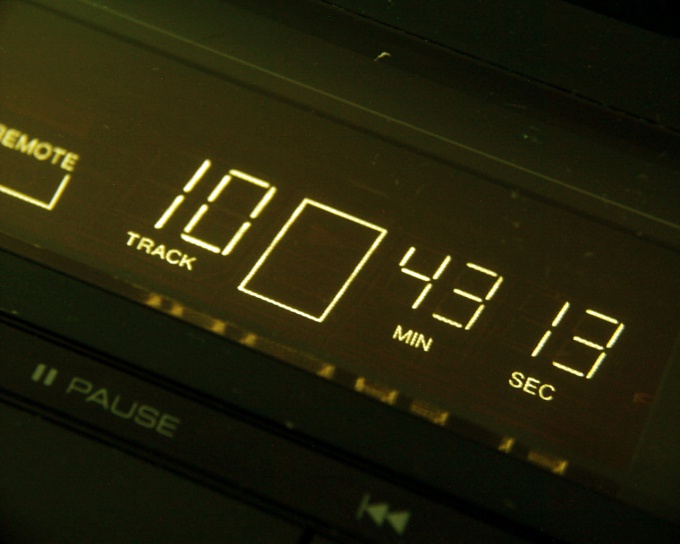
Look at the different indicators included in calculators, electronic watches, microwave ovens, and other similar devices. Pay attention to how they located the segments, which ones are enabled and which are disabled during the display of each digit from 0 to 9.
2
Compare different digital indicators. You will find that, although the location of the segments they have are usually identical, there are differences in the proportions (relation of the width of the plot height), the thickness of the segments, their shape (rectangular, square, rhombic, rounded), as well as the slant of a font. In addition, the indicators may displayed in figures 6, 7 and 9.
3
As the basis for the use of the stencil sheet, cut from the middle part of the bottle. Rinse it and dry it out. Flatten it out (but not iron) to become flat. Remove the small chamfers with the corners of the sheet.
4
Transfer the pattern segments you liked the proportions, shape and slope after increasing the image to the required size. Use for drawing the outline a ruler and thin marker. Then, using a modeling knife, cut out the holes corresponding to the segments in position and shape.
5
In order to use the stencil to draw the figure, attach it to the sheet of paper, and then fill in the marker holes-segments corresponding to the desired digit. If you want to create a drop shadow effect, apply one color, then move the stencil slightly to the right and up, then re-apply the same figure in a different color. Also, as with any other stencil, can be applied to the characters, painting the segments not entirely, but only along the contour. But to paint the lintels, as is the case with conventional stencil font, in this case not required.