You will need
- - computer with Internet;
- printer;
- paper for printer;
- - cardboard or a polymer film;
- - clerical or boot knife;
- - carbon paper;
- - ball point or gel pen;
- Board.
Instruction
1
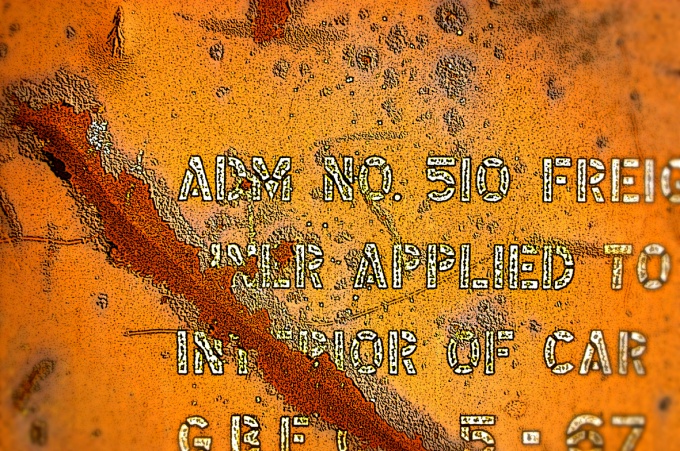
For specific stencil lettering and stencil alphabet, choose a font. It can be found on the Internet, and you can draw the letters of the desired shape yourself. If you don't need a particularly sophisticated font, you can use those that are built into Word. In this case, go to the window with fonts, which is located on the top bar and select the desired. Allocate the label and set the desired font size. Then simply print out the sheet.
2
You can choose a more elegant font. Download it from the Internet. The inscription in this case easier to handle in Photoshop. Go to the menu, which is marked with the letter T. Make the desired inscription and print the sheet.
3
Translate the text into cardboard or plastic. To translate the letters on the cardboard, you will need a blueprint. Put a sheet of carbon paper ink side to the card, put on top of the printed sheet and trace the letters in pencil or ballpoint pen. If there is no carbon paper, letters you can just push the same with a ballpoint pen (even better if with an empty core). Similarly, we can proceed with the opaque plastic.
4
With the transparent plastic, it is better to do otherwise. Before you print the sheet, fill the letters with dark ink. Put a sheet, and the top piece of plastic. If ballpoint or gel pen draws on this plastic, circle the letter. If you do not draw, take a knife or a needle and procardia letters. Do not forget to jumper those letters, which outline limits of some inner space. Jumpers must be at least two.
5
Cut out the letters. A cardboard stencil can be cut with sharp scissors. Insert end of scissors into the part surface to be cut, bring the cut up to the line and then cut exactly on the line. If you stick the end of the scissors directly in line, the cut will curve. Plastic is better to cut with a sharp knife on the Board.
Useful advice
Scissors to cut the stencil out of cardboard is better to take short but not rounded ends;
If you do the whole alphabet, letter spacing must not be less than the width and height of the letter. Better if they are more;
Depending on the size of the stencil, lettering can be done with spray paint, pad, ballpoint pen.
If you do the whole alphabet, letter spacing must not be less than the width and height of the letter. Better if they are more;
Depending on the size of the stencil, lettering can be done with spray paint, pad, ballpoint pen.