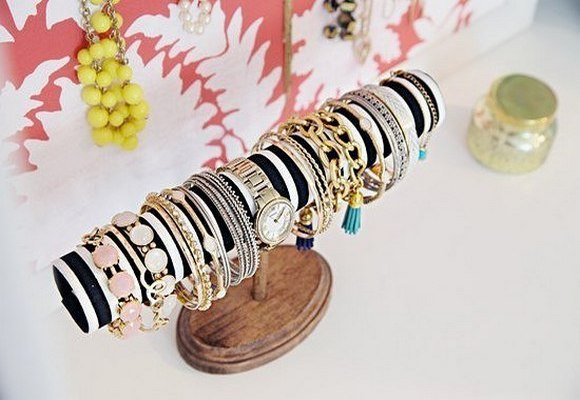
For this DIY you will need: glue, wooden Board with a thickness of about 2 cm for the base, wooden stick (from the land), cardboard from a paper towel roll, fabric for decoration, paint.
Work order:
1. Of wooden Board cut the base of the organizer to the desired shape (on a photo it is an oval, but may be square, rectangular, fancy shapes). At the base of the drill make a hole in order to paste it with a wooden stick.
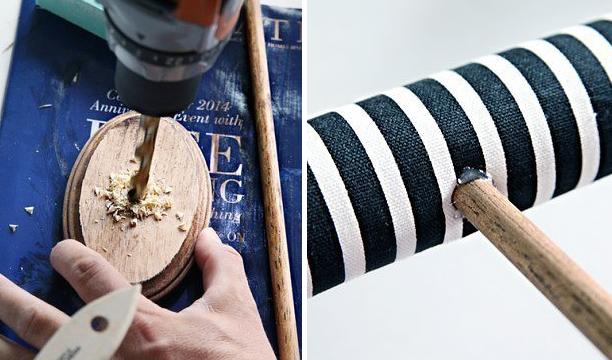
2. Cardboard cylinder paste over the cloth.
3. In a cardboard cylinder with a sharp knife cut a hole in order to paste it with a wooden stick.
By the way, I want to note that instead of a cardboard cylinder you can take wooden. In this case, the organizer will last much longer. The complexity of the operation almost does not increase.
4. Assemble the entire structure on the glue: wood base: glue stick, then put it on a cardboard cylinder.
After the glue dries, the organizer can be used for other purposes.
Useful tip: if you want to make the garland brighter before you perform step 4, paint the wooden parts in any colour. If you can, razreshite them or use a stencil.