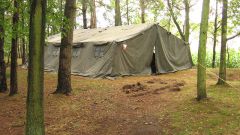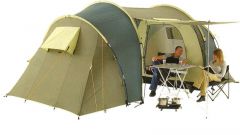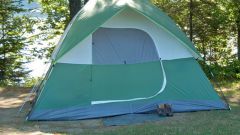
Instruction
1
Buy rubberized percale or tent canvas. The tent canvas is a linen cloth impregnated and painted green. Measure the desired length and width of the future tent.
2
Make pattern on paper. The tent should consist of floor, roof and four side portions. And one part (front) will represent the input, and therefore requires mounting of lightning.
3
Transfer the pattern to the fabric and cut. Sew all the parts together and vsheyte lightning in one of the side parts. Treat the slices.
4
The weight of the tent depends on the density of the fabric. Floor and rear wall should be made of more durable fabrics, or you can use multiple layers used matter. All panels connect double thick seam or underwear so that the tent does not leak.
5
Horse braid hem, pre-wash it to make it from shrinking. Between the ridge and the braid pave thin hemp rope, the ends tied with loops, attach the stretch. The place of fastening of loops to close with a special patch.
6
At the ends of the ridge to make the holes for the struts, which will attach your tent. Fasten the slotted metal caps or treat the coarse thread. In the rear wall optionally reinforce the hole with a sleeve for ventilation of the tent. At the entrance to make secure the nut, which will protect the tent from ingress of moisture and dirt.
7
The tent should be waterproof. To do this, place the fabric in a 40 percent solution of soap. Give it like you should become. Lower the impregnated cloth in a 20 percent solution of copper sulfate. After the fabric is saturated, remove it from the solution and dry thoroughly.