You will need
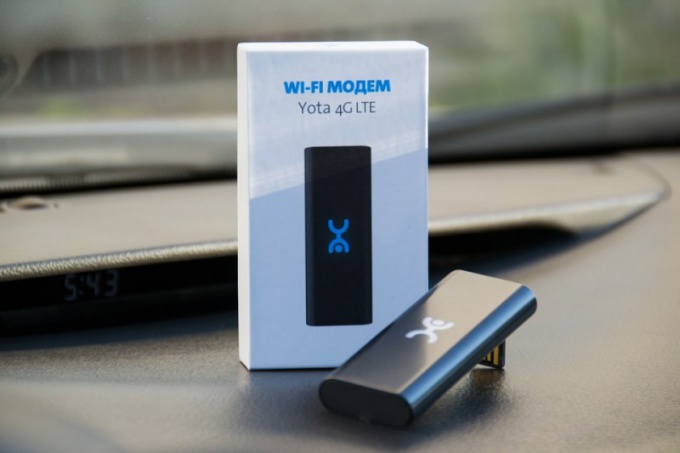
- antenna or USB-modem Yota;
- - computer with Windows XP or higher;
- - bootable CD-ROM.
Instruction
1
Connect to your computer antenna or USB-modem Yota. This equipment will be provided by the service provider after concluding the customer agreement. As soon as you plug it in, the system will prompt you to install the drivers for the device. Insert a bootable CD-ROM, which is included in the package. If you have enabled the automatic installation of the driver, the system will search on the disk immediately. To install the driver manually specify as the destination folder is the root directory of the boot drive.
2
Install the program Yota Access. To do this, open the file AutoInstall.exe in the root directory of the boot drive. Follow the instructions for a successful installation. After starting the program will automatically connect to the WiMax network. If not, most likely your computer is out of coverage provider. Read the instructions on the provider's website or call support to find out the nature of the problem. Upon successful completion of the procedure, you will see the message "Connected with restrictions".
3
Go to the Yota and log in to your personal account. Follow the link to activate the equipment. You will be prompted to choose the rate and method of payment. If you do not define them immediately once activation is complete, you will be given a day free Internet usage, after which you will need to Deposit funds into the account. Pass the registration procedure. After activation and payment of Internet connection Yota disconnect and reconnect the device used to connect to the network. In some cases you might also need to restart the computer. Now once you connect the modem or antenna, the system will automatically connect to the wireless Internet.