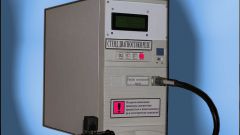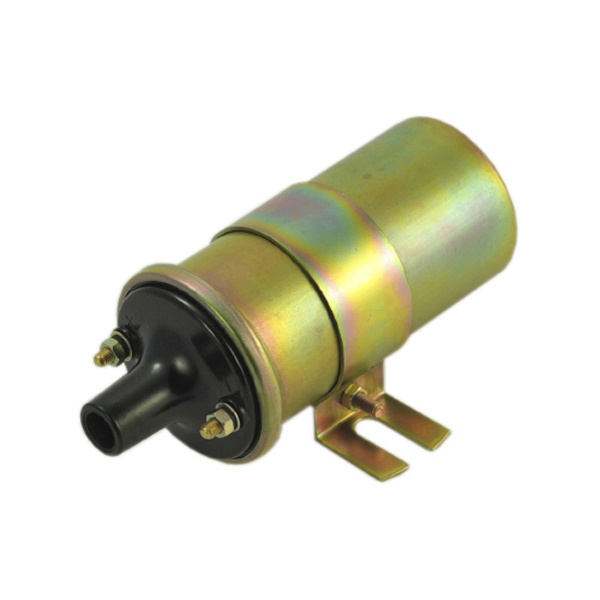
Instruction
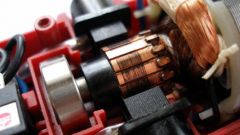
1
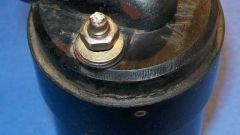
To begin, inspect the coil and check the surface for contamination which can lead to the fact that voltage goes to ground. Then pay special attention to the coil body. If there are oil stains, then it is an indication that the cover has contaminants that will lead to the final output parts of the system. Also check the wires which should not have signs of oxidation or rust.
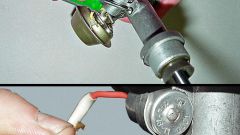
2
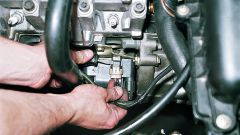
If you have a contact system of ignition, the faulty coil shall be checked by placing the Central wire of a high voltage at a distance of 5-7 mm from the body of the car, which is a lot. If the coil is fully functional, at the moment of contact separation appears to sparkle with the color blue. Otherwise, the spark will not, or it is very weak.
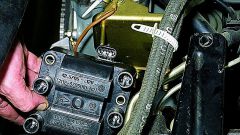
3
Measure the resistance of the windings and coil insulation, which must comply with the values specified for this type of car. If you have no such data, the insulation resistance shall be 50 mω, and the resistance of the primary winding is about 5 Ohms, assuming the voltage is 12 Volts.
4
Check the insulation reliability of the coil, and the polarity of the wires if they are reversed, correct this deficiency. Check the primary winding with the ammeter, measure the current in the circuit. After that, turn on the ignition and close the circuit breaker contacts. The amperage should be within the limits specified for the vehicle. If the measured value is greater than this value, it indicates that the winding is broken.
5
During the installation of the coil in its place, be careful not to interchange the wires that otherwise can lead to its deterioration and erosion of the breaker contacts, and in the worst case to a short circuit.