Instruction
1
To the sensor output of the Hall connect the voltmeter and check which indicators are displayed on the voltmeter. If the sensor is OK, the voltmeter needle shows the amount of 0.4 V to the figures, which is different from the voltage of not more than 3 V. If the arrow is lower than the 0.4 V – this means that the sensor is faulty and needs to be replaced.
2
Sensor replacement, where you are not sure on the sensor, which accurately healthy is another way to verify that the sensor of Hall.
3
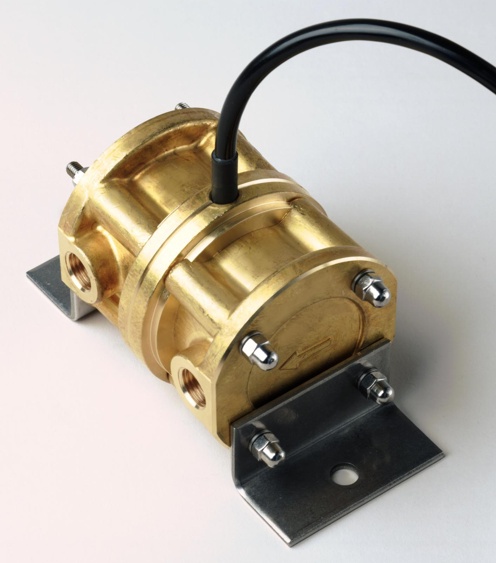
Also you can use sensor simulation to test it. To make simulating the device is simple – for this you need trehstakannaya block distributor. You will also need the pigtail.
4
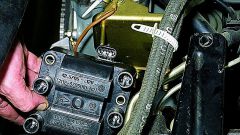
Turn the ignition on and connect the wire ends to the outputs of the switch numbered 3 and 6. Let's see if the connection spark. If the spark appears – this indicates sensor fault; if there is no spark, then the sensor is of the Hall in order.
5
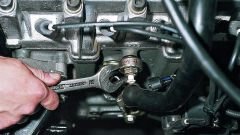
To replace faulty sensor on the correctly functioning device, remove the ignition distributor cap (distributor) and expand the crankshaft. The mark on the crankshaft must match the middle mark on the cover of the timing.
6
Remember, in what position is the indicator of the dispenser. Then loosen the distributor with a wrench and a hammer to knock the steel tube that holds the clutch oil slinger. Remove the tube from the mechanism and remove the coupling.
7
Pull the shaft out of the distributor. Find terminal contacts of the sensor to the Lobby and disconnect them. Remove the sensor, pull back on the controller and pull it, then install the new one, repeating all the above steps in reverse order.