You will need
- - Arduino;
- computer;
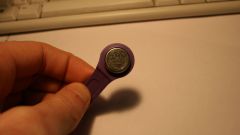
- - key for the intercom type iButton or 1-wire;
- key blank to create a "clone" of the original key;
- - 1 resistor of 2.2 kOhm;
- - connecting wires.
Instruction
1
Each key for the intercom has its own room - this room serves as a key identifier. It was on the room key intercom solves your or someone else's. Therefore, the copy algorithm like this: first you need to know the number of "permitted" key and then assign this number to another key - clone. To intercom there is no difference, was applied to the original key or its copy. Checking the number against its database of allowed numbers, he opened the door.
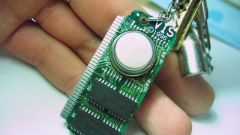
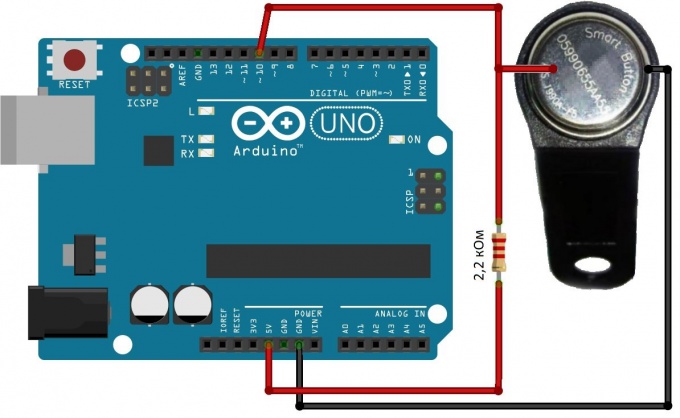
Keys for intercom, which we will connect to Arduino (sometimes called iButton or Touch Memory), is read and written via the 1-wire interface 1-wire. Therefore, the connection scheme is very simple. We need a couple of wires and a pull-up resistor of 2.2 kOhm. The scheme shown in the figure.
Keys for intercom, which we will connect to Arduino (sometimes called iButton or Touch Memory), is read and written via the 1-wire interface 1-wire. Therefore, the connection scheme is very simple. We need a couple of wires and a pull-up resistor of 2.2 kOhm. The scheme shown in the figure.
2
To work with 1-wire interface there are ready-made library for the Arduino. You can use like this: http://www.pjrc.com/teensy/arduino_libraries/OneWire.zip. Download the archive and extract the folder "libraries" folder of Arduino IDE. Now we can simply run the Protocol.
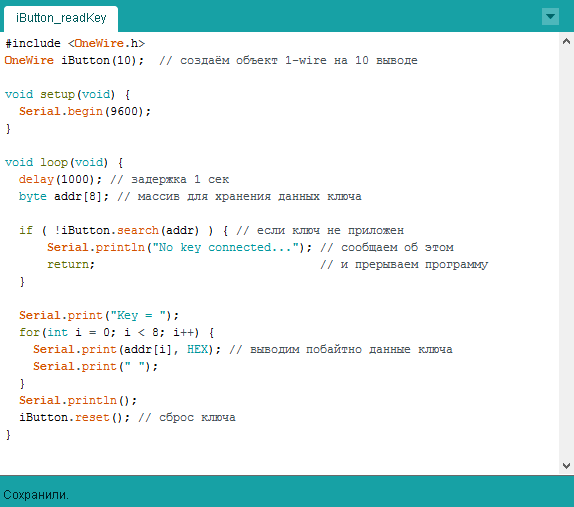
Download Arduino the standard way the sketch shown in the illustration.
Download Arduino the standard way the sketch shown in the illustration.
3
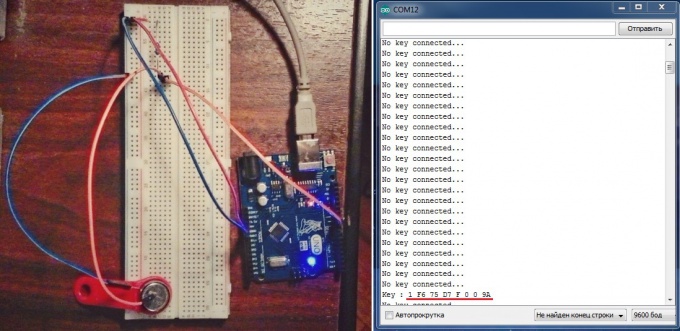
This sketch shows the key number for the intercom that is connected to the circuit. This is what we need now - we need to know the key number, a copy of which want to do. Connect the Arduino to the computer. Start monitor serial port: Tools -> Monitor serial port (or keyboard shortcut Ctrl + Shift + M).
Now connect the key to the scheme. The port monitor will show the key number. Remember this room.
Now connect the key to the scheme. The port monitor will show the key number. Remember this room.
4
Now rewrite the sketch so that he could record the data in the key memory. Code given in the illustration. In the code given detailed comments. Most importantly, do not forget to specify the number of your original key in the array key_to_writethat you learned earlier.

5
Upload this sketch to Arduino. Open the monitor serial port. Connect to the schema key to be a clone of the original key. The result of programming the serial port monitor will display an appropriate message.
6
1) If when you compile a sketch, an error will occur [ WConstants.h: No such file or directory #include "WConstants.h" ], it should be in the file "OneWire.cpp" replace the first block after the comments on the following:
#include "OneWire.h"
#include "Arduino.h"
extern "C" {
#include "avr/io.h"
#include "pins_arduino.h"
}
2) If while compiling you get error "class OneWire has no member named read_bytes" or similar, then find another library OneWire, the Internet is a lot of them.
#include "OneWire.h"
#include "Arduino.h"
extern "C" {
#include "avr/io.h"
#include "pins_arduino.h"
}
2) If while compiling you get error "class OneWire has no member named read_bytes" or similar, then find another library OneWire, the Internet is a lot of them.
Note
Keys for intercom come in different types and families. This code will not work for all keys, but only for RW1990 or RW1990.2. The programming key may result in key risks.
Given the desire, it is possible to rewrite the program for different type of key. For this you need to find a description for Your key (datasheet) and correct the code of the sketch according to the description.
Given the desire, it is possible to rewrite the program for different type of key. For this you need to find a description for Your key (datasheet) and correct the code of the sketch according to the description.