You will need
- - personal computer;
- - the program "Photoshop".
Instruction
1
In Photohop, open a photo, edit that you have gathered. This photograph will be placed in the first layer.
2
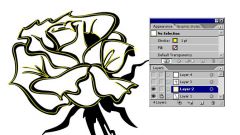
Copy the image into a new layer. To do this go to menu, selecting the tab "Layers" and select "New" and then select "copy to new layer". All these manipulations can be replaced by pressing the key combination "Ctrl+J". All changes you make solely on new and second layer.
3
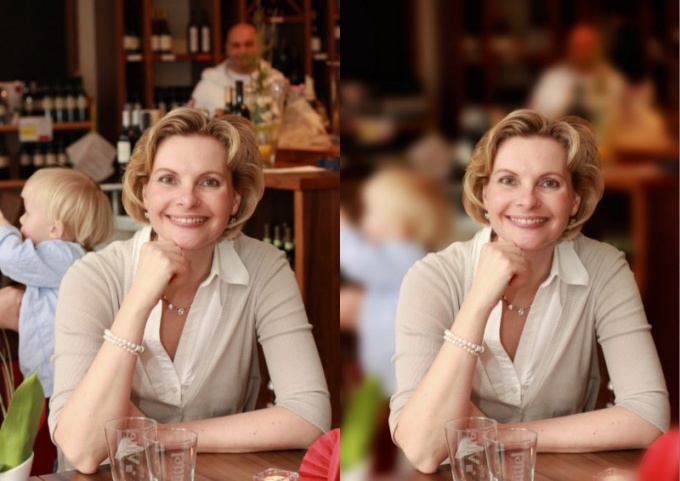
Refer to menu and go to "Filter" select "Blur". Narrow your choice by specifying "the Gaussian Blur". The blur intensity is governed by only one parameter (to indicate it should be a choice: that is to choose the value of the index, which, in your opinion, the blurring would be ideal.)
4
On the blurred layer add a mask and start to "developing" photos. To do this, go to the menu "layer" and select "layer mask", specifying the parameters of the "show all". Although after the last action in the pictures, nothing will change, right beside the new layer should appear in the white quadrangle.
5
Go to the toolbar and use the brush tool. But before you can use the "brush", configure the settings of this tool. Set the optimum value (range 20-40 percent) "brush". Remember that the higher the set value, the rougher the transition between the distinct elements of photography and blur.
6
Open a second layer and paint it with a brush the shape of the person depicted in the photo. Then connect the layers and admire the resulting photos.
Note
Save all the effects in order to avoid their loss.
Useful advice
If during painting the second coat, grab an extra piece, not afraid to correct a mistake by using white color.
