Instruction
1
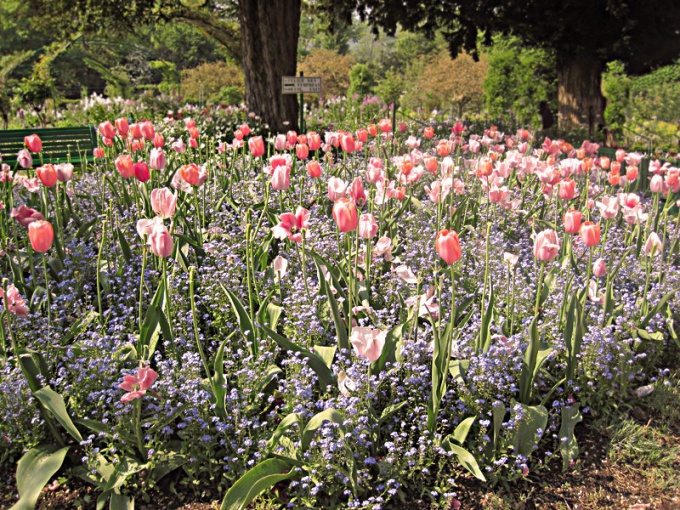
Open the original image and duplicate it with Ctrl+V. All of the change is better done on a new layer below the failed action not to damage the.
2
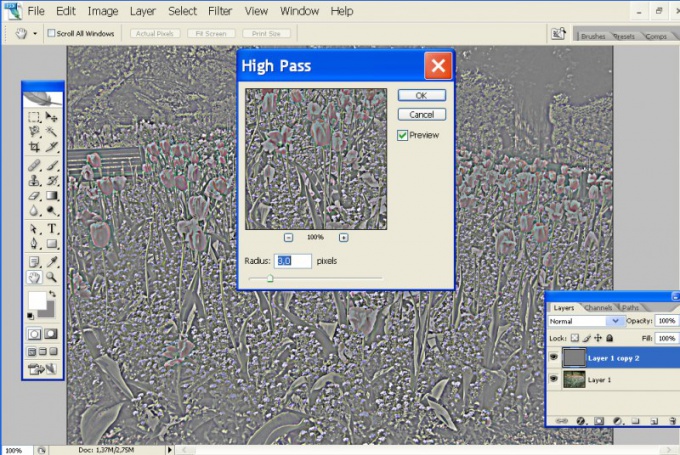
In menu Filter ("Filter") Other (") use the High Pass ("Color contrast"). Choose a radius value to make the contours of the image slightly stood out from under the gray mask. Click OK and assign this layer the blending mode to Overlay ("Overlay").
3
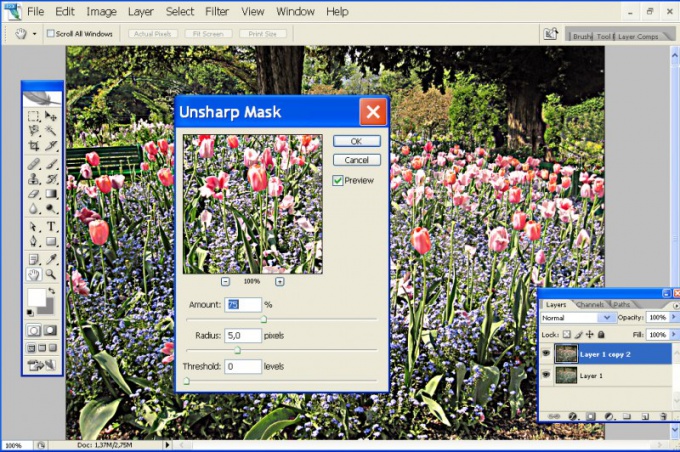
In the same menu in the Filter group, select Sharpen, Unsharp Mask ("Blurred outline") and use the sliders to set appropriate values for Amount and Radius. The Amount parameter sets the level of impact the pattern, Radius, – radius, Treshold – protection of small parts from the impact tool.
4
If excessive increase the value of Amont, the image may appear artifacts. When high levels Treshold parts will be "plastic." To monitor changes, check the Preview checkbox ("preview").
5
You can also use the option of Smart Sharpen (Smart sharpen) Sharpen. For a more subtle processing of the image move the switch to the position (Advanced"). Set the sharpness of the illuminated and shaded areas using the engines Fade Amount, Tonal Width, and Radius.
6
To enhance the clarity and expressiveness of the photos , you can apply the Photo Filter tool ("photo filter"). Open the Image (Image), Adjustments ("Properties") and Photo Filter. Choose the appropriate value from the list.
7
Click Create new fill or adjustment layer ("creating a new priming or adjustment layer") on the layers panel and choose Photo Filter. You can choose a preset filter from the list or create your own. To do this, set the switch to Color and click the colored square next to the button. On the color palette, select a suitable color.
8
The details of the front end needs to look more clearly than distant objects. Press Q to switch to edit mode quick mask, and D to set default colors. A soft brush paint over the foreground. Then change the primary color to gray and treat the more remote parts, without touching the background.
9
Again, press Q. Around the part of the photo will appear in the selection – it is protected by a mask. The darker the color of the brush, the stronger the protection. In the Filter menu, choose Gaussian Blur ("Blur Gaussian") and set the radius to 0.5 px. Are blurred distant objects and, to a lesser extent, parts of the middle plan.