Instruction
1
Go to "start" and select "control Panel" (or open it using the desktop shortcut). In the window "control Panel" double click on the icon "System". This will open the properties dialog of the operating system.
2
It click the Hardware tab and click "device Manager". Opens a list of all devices, physical and virtual, are installed on the computer, with information about each device.
3
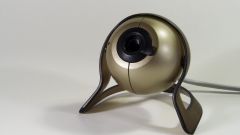
At the bottom of this list, locate the line "imaging Devices" and click on the "+" symbol to the left of the row. In the list locate the webcamera and make sure that it is enabled (its icon and the line marked with question mark or red cross).
4
Open the application to use the webcam to check its functioning "in practice". The application is usually installed simultaneously with the driver on the built-in camera. To start this utility, click start, then click All programs, and then locate the program icon for the webcam (for example, Acer brand laptops such application is called "Acer Crystal Eye Webcam").
5
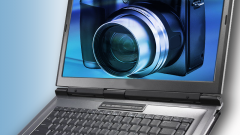
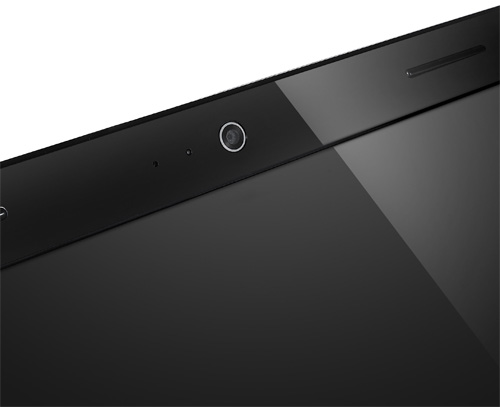
If the webcam is working and involved, immediately after starting the application in the window will be a picture received from the camera. If you have not previously managed to find her, thanks to the camera image you easily find its location.
6
To start the webcam to test you can also open any application interacting with it. For example, a program for making video-calls Skype or application to extend functionality of a typical web camera ManyCam.