Instruction
1
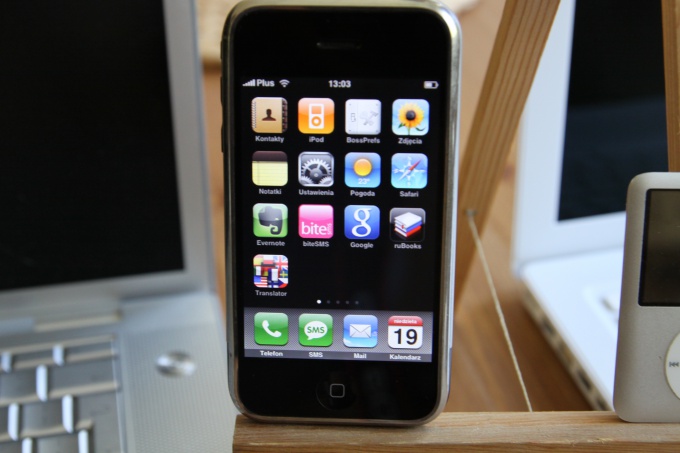
To delete photos from iPhone in two ways. To do this, locate the desktop icon with the sunflower – it's your photos. Click on it and you will see a list of your albums. If you have not created albums, all your photos are stored by default in the folder "camera Roll."
2
Open the desired folder. Select the photo you want to delete from iPhone, and click on it. Or start viewing photos and choose the one you want to delete. Then, in the bottom right corner look for an icon depicting a trash can (he is on the pop-up panel). If the photo has no panels, touch your finger to the screen – a toolbar will appear.
3
To delete a photo click on that "trash". On make the choice to delete the photo or cancel the operation. The "Delete" button highlighted in red.
4
The second way is useful if you need to remove multiple photos. Go to your photos and select the album. Then in the top right corner click on the arrow. At the top will appear that says "Select photos". Now you can select multiple pictures to delete from my iPhone at the same time.
5
To select a photo, click on it. The image will appear red checkmark and is pale. To deselect, click on the photo again. If you want to delete all the photos, click on the extreme image and hold for a few seconds. Then move your finger across the screen, capturing all the photos.
6
Be careful when selecting the photos the second way – you can see pictures only in preview mode. Advised to browse all the images in the album and then start the uninstallation.
7
Once desired photos are selected, click the "Delete" button (red color in the lower right corner). Next, confirm your choice or cancel the operation. To go back to the photo playback mode (album), click the "Cancel" button in the upper right corner.
Note
The iPhone is no so-called basket, so to recover deleted pictures will not work.
Useful advice
Make sure that the pictures you are about to delete from my iPhone, transferred to a computer or do you do not need.
