You will need
- Adobe Photoshop CS2 or higher
Instruction
1
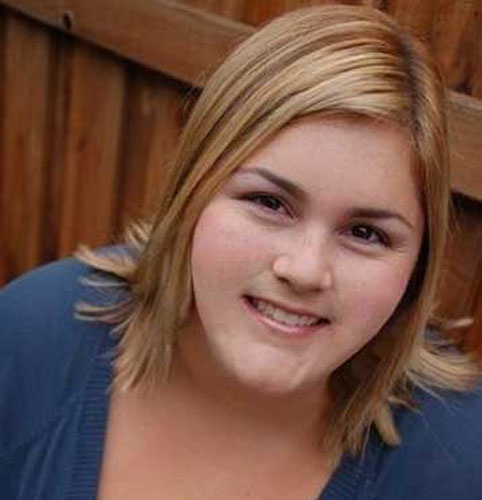
Open the original image. To do this, press Ctrl+O or the menu "File" select "Open". Alternatively, you can simply drag the icon image into the working area of the program.

2
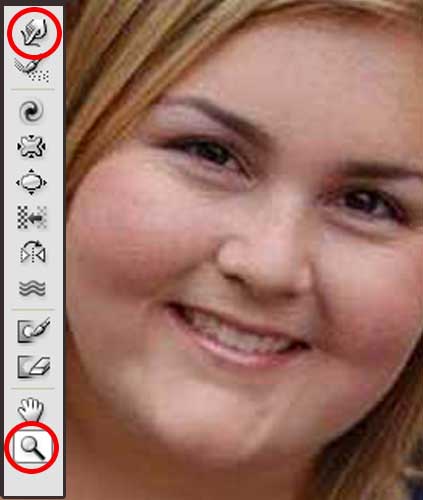
Open the liquify filter" from the menu "Filter". This filter is more like full-fledged program. It is very convenient for such tasks when you need to modify any parts of the body, particularly the face.
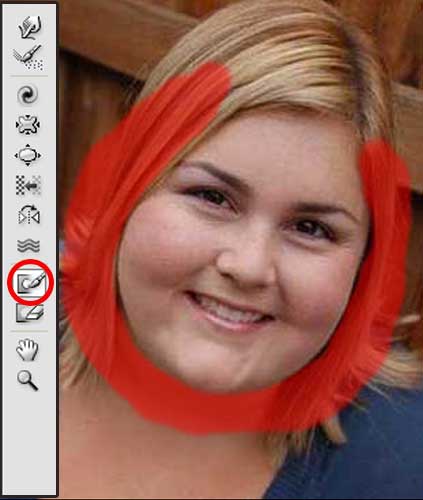
On the toolbar, click the instrument "Freezing" and paint over the red veil sections, next to which you need to hold the modification. When you do this, be sure to leave a little unpainted space as leverage for further modifications. If you took too much, use "Defrost" to erase the extra part of the veil.
On the toolbar, click the instrument "Freezing" and paint over the red veil sections, next to which you need to hold the modification. When you do this, be sure to leave a little unpainted space as leverage for further modifications. If you took too much, use "Defrost" to erase the extra part of the veil.
3
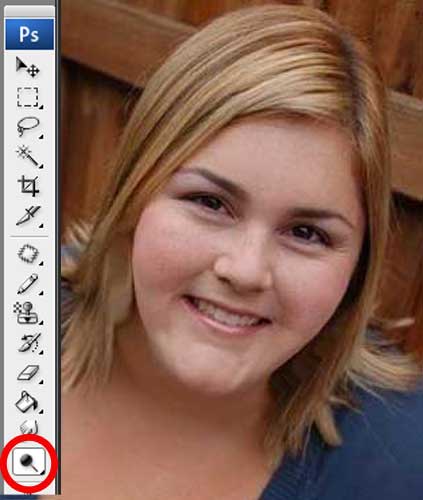
When the illustration is properly prepared, take the smudge tool and with his help begin to clean up the cheeks. This process is well illustrated by a tool icon. Move the "Finger" to the border of cheeks, press and slightly slide the image. It is extremely important to choose a suitable brush size – this will allow you to better control the shape of the face. It is also desirable to enlarge the image to make it easier to work. This can be done using the Loupe tool.
Achieve the result that you want, and click "OK" to accept all changes.
Achieve the result that you want, and click "OK" to accept all changes.
4
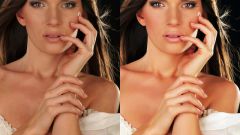
On top, take tool "Clarifier", and slightly follow the folds that form the cheeks. Also, you can slightly darken the highlights to even out the light using the tool "burn".
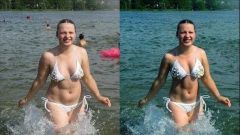
Use well-known artists principle: the lighter area of the image, so it seems closer to the viewer. Conversely, the darker the further it seems. Thus, aligning light, can make the cheeks smaller.
Use well-known artists principle: the lighter area of the image, so it seems closer to the viewer. Conversely, the darker the further it seems. Thus, aligning light, can make the cheeks smaller.
5
Save your finished image. To do this, click "File" then "Save as" or "Save for web and devices". As a rule, it is recommended to save images in.JPG format.