Instruction
1
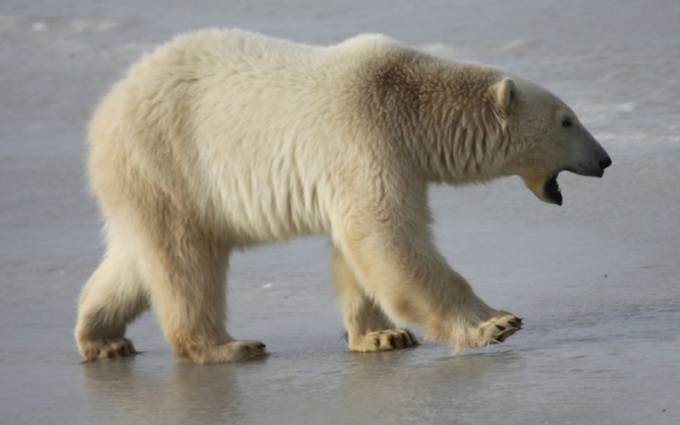
Open the image and duplicate it. All changes should be done on a new layer without affecting the finished picture. Copy to a new layer, preferred combination of hot keys Ctrl+J.
2
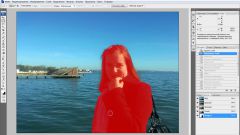
Now you need to select the figurethat you will decrease. This can be done in different ways. If the background around the item fairly uniform in color, use the Magic Wand tool (Magic wand).
3
Set the Tolerance parameter so that the allocation coincides with the contour of the figure. The parameter value can be changed depending on the shade of color. To selections merged into a whole, click the properties panel button Add to selection ("Add selection").
4
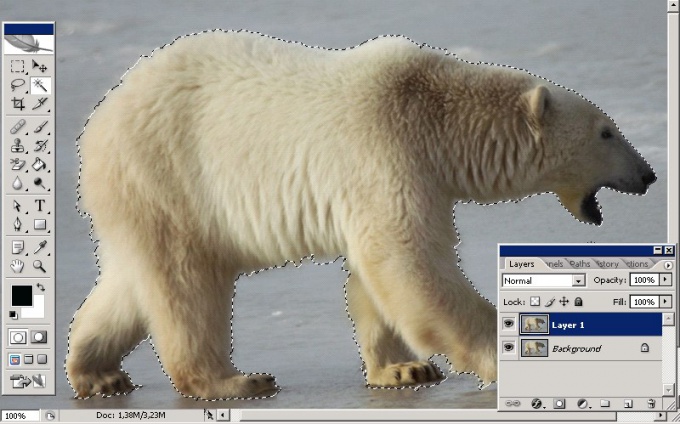
Menu Select ("Select"), select Inverse ("Invert"), or use Ctrl+Shift+I. Now you have selected a piece, not the background. Copy it to a new layer.
5
Press Ctrl+T or Edit menu ("Edit") to select Free Transform ("Free transform"). Around the snippet you'll see a rectangle. If you want to reduce a shape proportionally, hold down Shift, hover over the angular control of the bundle, hook it with the mouse and move to the center of the selection. Now you can see both layers – the main image and a reduced copy of the main element.
6
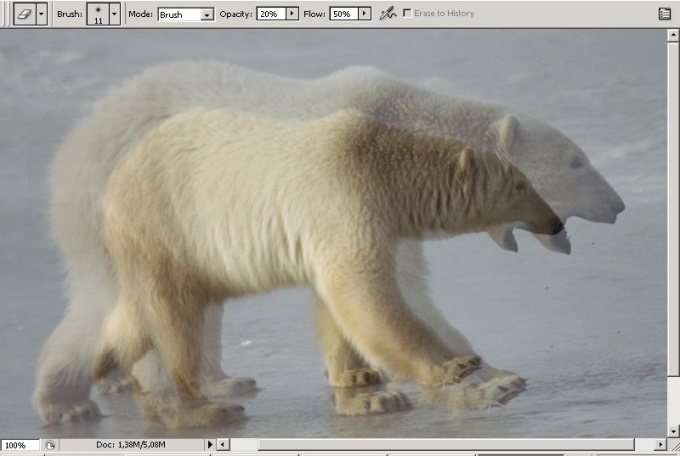
You need to move the background layer with a reduced copy. On the toolbar, select the Stamp Tool (rubber Stamp). In the properties pane, set the parameters of the brush diameter and hardness. You will have to change these values in the treatment process. If the main element is fluffy, as in this example, the stiffness should be reduced. The brush size will depend on the size of the workpiece.
7
Activate the layer with the main image, hold the keyboard Alt and click on the background next to the snippet that you copied to a new layer. The distance to this element will depend on the brush size and properties of the fragment. The cursor takes the form of an optical sight – a cross with a circle around it, i.e., the instrument took a sample of the color and considers it a benchmark.
8
Go back to the layer with the copy of the fragment, place the cursor close to the shape outline and gently encircling her. Around the copy of the fragment you receive a copy of the background with the main image, which is under the cross.
9
Be careful to not cross drove to the snippet that you copied. As necessary, change the stiffness and the diameter of the brush and take a new sample of the color on the layer with the main image. Most importantly, do not forget that the sample you take on the layer with the main image, and restore the background layer with a copy of the fragment.
10
A failed step can be cancelled with Ctrl+Alt+Z. to make it easier to understand where to take a sample of background time switch off visibility of the top layer by clicking the eye icon next to it.
Useful advice
To highlight the main figure, you can use the tools from the group Lasso ("Lasso") or the edit in quick mask mode.