You will need
- The computer program Adobe Photoshop.
Instruction
1
Open your photo. Then duplicate the Background layer. To do this, click Layer, select Duplicate Layer, if you have the English version of the program. Sometimes photos of the border of the nose are difficult to see, this problem you can solve by increasing the image contrast (Image - Adjustments - BrightnessContrast).
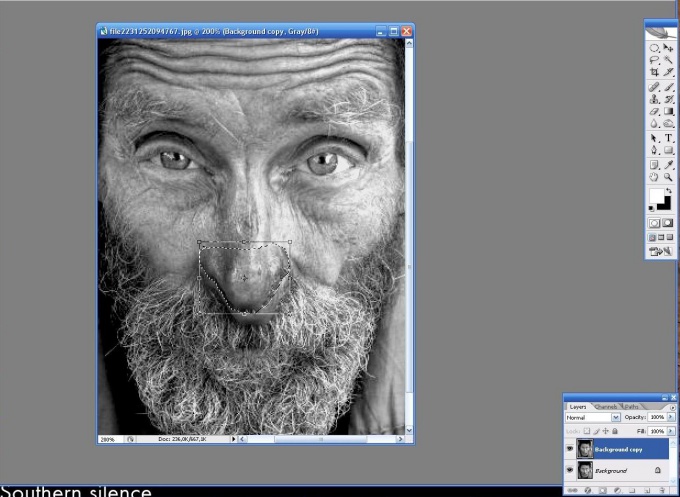
2
Now select the lasso tool (Lasso Tool) and select the nose, then press Ctrl+T. So you go into free mode transformation of the selected region. Pulling the corners of the highlighted area you can change the size of the nose according to your choice. You can also drag and drop the nose in a different place.
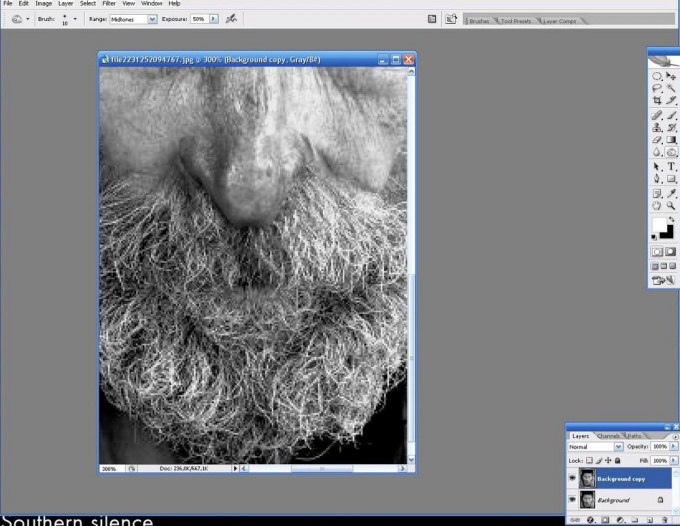
3
You change the size and position of the nose, but now it shows the lower layer. This problem can be solved with the Clone Stamp tool. This tool is used to move areas of the image by conventional drawing. Hover the cursor over the area you want to fill the desired space. In this case, it is the area between the nose and mouth. Hold Alt and click on this area. Then release Alt and start painting directly under the nose in the place that you want to fill. Will have to practice, but soon you will realize the simplicity and convenience of this tool.
4
All that's left to do is to make small cosmetic improvements. Select the tool and Burn Tool add shadows under the nose, if you think they should be there.
Note
Try not to work on the Background layer, as some changes can be irreversible. It is always better to insure yourself as a new layer.
Useful advice
Don't go overboard with the Burn tool Tool. On the top panel put the Opacity less, depending on the photo process.