Instruction
1
If the keyboard of your laptop have special Fn key, turn on the camera, hold down on the keyboard this key and holding it in the top row of system buttons press the icon key of the camera. On the screen there is a picture with the caption "On" or "Off" (On or Off, respectively). Get the picture shown On
2
Run portable or built-in camera utility that displays a user interface of a web camera. To do this, find the folder with your camera (the name can be used Camera (Cam) and/or Web) to "start" → "All programs". Run the application and when it displays the notebook interface, enable the web camera in the settings.
3
The default built-in laptop camera is activated automatically when you make someone a video . That is, to turn on the camera, just run the program, which will have access to the webcam (e.g. Skype).
4
Enable USB device on your laptop the settings of the computer. To do this, open "control Panel", go to device Manager. There go to "imaging Devices". In the ensuing section, you will name your camera (sometimes the camera goes under the name "Unknown device"). To enable, click on the name, right-click and select "Enable".
5
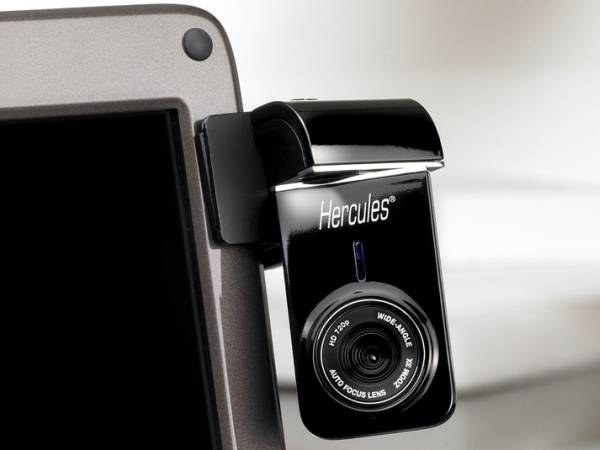
If you are using a laptop without built-in and stand-alone web camera, inspect it for the presence of the power button. If it is, press the camera restart itself and deploy on-screen interface of your application.
Note
If the camera is turned on, and instead of the image you see is a black screen, maybe there is a problem with the drivers. Not in a hurry to reinstall them, contact your system administrator or the person who understands computers. If he confirms that the case in your installation, then delete the old driver and download new ones that fit the model of your camera.
