You will need
- Graphic editor Adobe Photoshop.
Instruction
1
Create a new document by pressing CTRL + N. If you want to put a beautiful inscription on any picture, then instead of creating a new document, please download the original image. The open file dialog is started by pressing CTRL + O.
2
Click on the keyboard button D to set default colors (white background, black text). Now you do not need to match the color of the future until enough of her was visible against the background. After that, activate the tool "Horizontal text". The easiest way to do the pressing with a Russian letter E (Latin T). Then click on background image the mouse and type the label text. Don't forget that it can be multiline, if you use Enter to move the cursor to the next line.
3
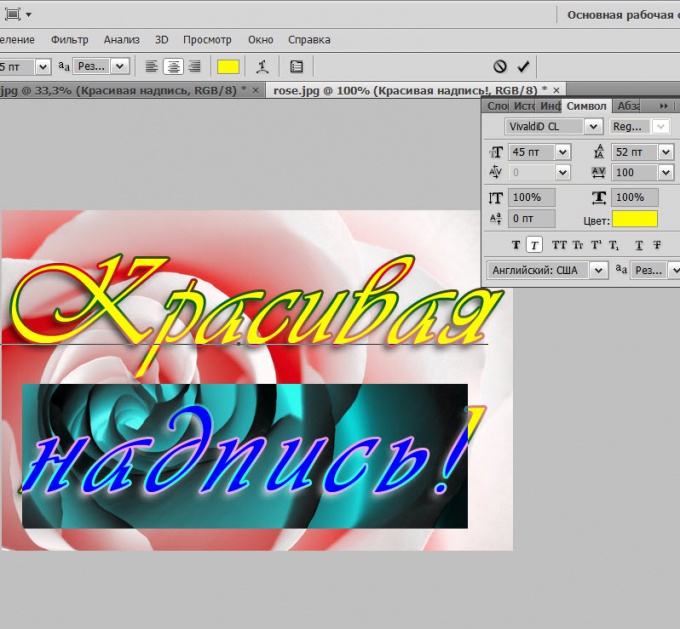
Click on the tools palette the first icon is "Move". The text edit mode will turn off. Then open the menu item "Window" and select "Symbol". So you open the dialog box marked with graffiti. Select from the drop down list beautiful font, the style most appropriate to the text and the background, and placed the line below select the size of the letters. The font list can be replenished by finding beautiful examples on the Internet and installing them into the computer in the usual way.
Here you can make the letters more compressed or stretched to change the spacing between letters or lines to make the letters crossed out or underlined, etc. Each such operation can be applied to all the text, and any letter or part of a label if the corresponding setup to select the part of text or words. The text color can be changed by clicking the black rectangle that says "Color".
Here you can make the letters more compressed or stretched to change the spacing between letters or lines to make the letters crossed out or underlined, etc. Each such operation can be applied to all the text, and any letter or part of a label if the corresponding setup to select the part of text or words. The text color can be changed by clicking the black rectangle that says "Color".
4
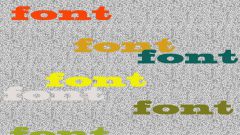
Open the blending options by double-clicking the text layer. After formatting labels you can apply to it any of the base effects. There is, for instance, glow, shadow, relief, etc. Then you have a wide field to experiment with effects settings - change them, watching how it affects the picture. For example, the image in the title of the article applied to the text overlay effects shadows and gradient stroke with a mirror.
5
Adjust the position of the finished label on the background image, moving it with the mouse.
6
Save your work in Photoshop format, if want to further edit it. To do this, press CTRL + S, enter a file name and storage location and click "Save". And to save the image with the words in a format suitable for use in the computer, the Internet, etc., press ALT + SHIFT + CTRL + S, select the file type and set the best quality settings. Then click Save, enter a file name, select the storage location and click "Save".
