You will need
- Graphic editor Adobe Photoshop
Instruction
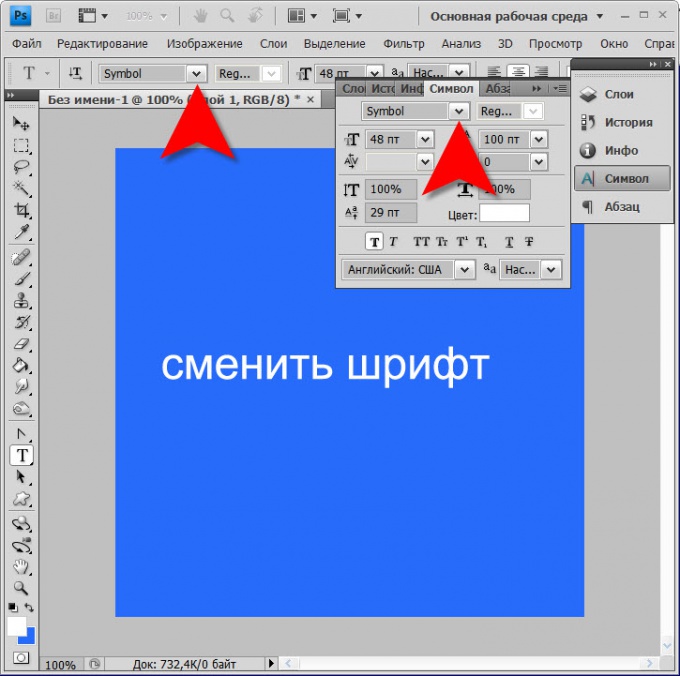
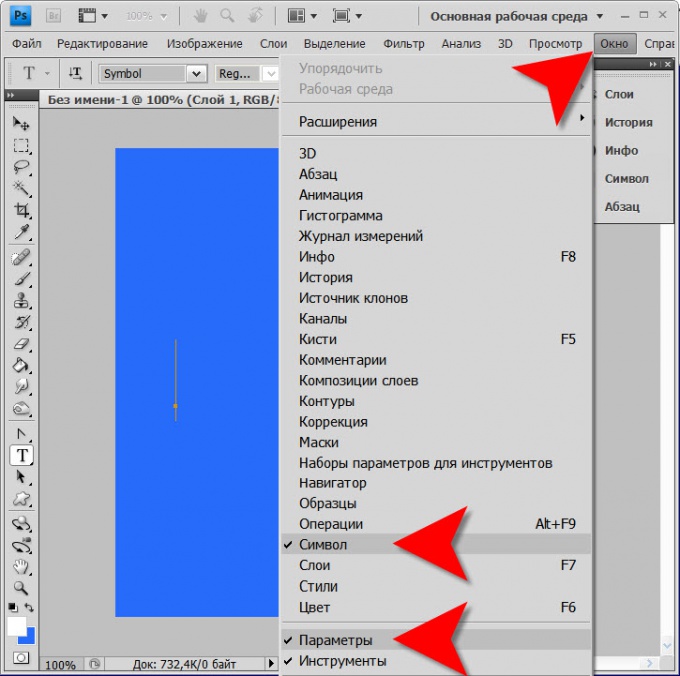
1
Turn on the toolbar work with the fontAMI. Two of them - "Symbol" and "Parameters". They both open the select with the name of the toolbar under "Window" menu of the editor. The Parameters panel is a narrow horizontal band which is usually placed under the editor menu. It is a limited number of settings of the text, and for the more subtle manipulation of the fontAMI designed a "Symbol". Turn on one of them or both.
2
Select from the drop down list the font ("headset") you want to use for future labeling and in the next (right) box, specify one of the available in this fonte font styles (normal, bold, italics and combinations of these three). The list of cuts contains all fonts that are installed in your computer. To replenish it, simply install a new font normal for your operating system method.
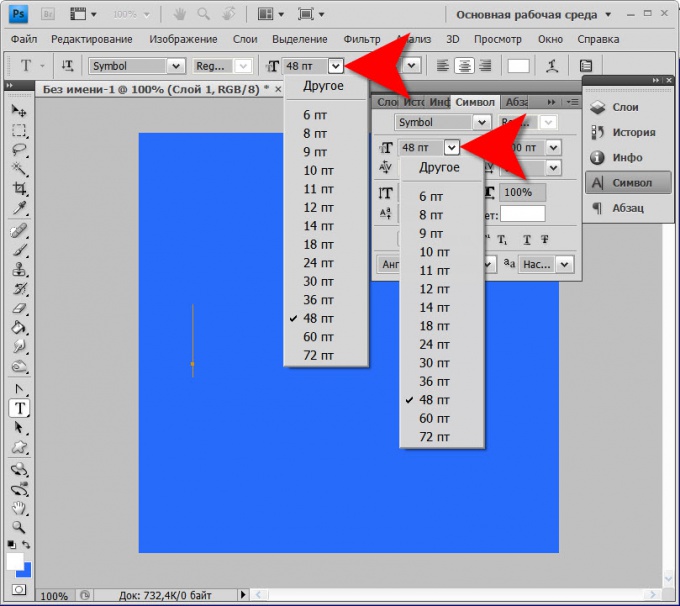
3
Set the desired size of the font ("font"). It is not necessary to choose from the list of values you can enter in the box the desired number, if it is not in this list.
4
Set the color of the future label - click on the colored rectangle (in the "Symbol" next to it there is the inscription "Color") opens a dialog for selecting the desired shade.
5
Then you can start typing a headset with user-set parameters. If in the process of entering labels will need to change the font of any individual letters or parts of the text - select the letter or group of letters and use the same methods the changes described in the previous steps.
6
At the end of the input text can also be changed any of the settings font. To change that you make applies to the whole text, the entire inscription can be identified, but it is better just to click on the toolbar of any icon, for example, the first ("Move"). So you exit the text entry mode, but the layer with the inscription will remain active and available to produce different manipulations, including changes of parameters of faces.
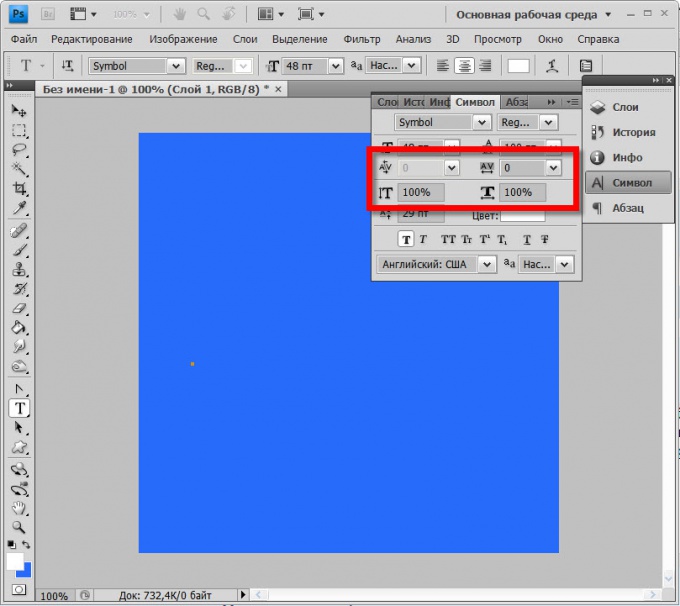
7
Make the desired adjustments to the font of the finished label, as described in the first steps, or use the additional tools panel Symbol. They allow, for example, to change the proportions of the letters, inserting the desired values of width and height in percent. Or to change the distance between letters (tracking and kerning).
8
Use to transform the fontand the label tools with the icons placed in the lower part of the panel "Symbol. They allow you to make the letters (left to right):
fatty;
- sloping.
- title;
- the title preserving the sizes of uppercase (capitals) ;
- Superscript;
- subscript;
- accentuated;
- strikethrough.
fatty;
- sloping.
- title;
- the title preserving the sizes of uppercase (capitals) ;
- Superscript;
- subscript;
- accentuated;
- strikethrough.
