Instruction
1
Open the. You can add to the image vertical (from top to bottom) or horizontal (left to right) inscription. Depending on this, choose in the toolbar or the Vertical Type Tool Horizontal Type Tool (the tool with the letter T).
2
In the properties panel, define the font type in the window Set the font family, type (normal, bold, italics), size and smoothing. Click the window to Set the font color ("Set font color") and in the color panel, select the desired shade. Start typing the text.
3
You can change the size of labels, by applying to the layer with letters free transformation. Use Ctrl+T. Move the cursor over one of the knots selection and moving the mouse until you get the desired result.To move the inscription, on the toolbar, select the Move Tool and move the text in any direction.
4
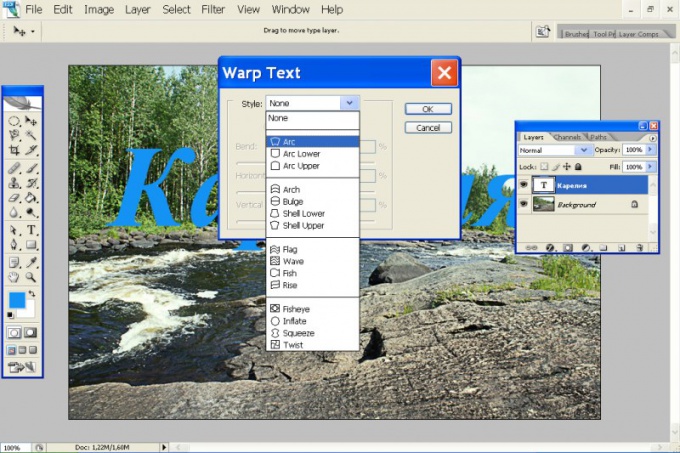
Re-select the T tool on the property bar, click the Create warped text ("new text warp"). Expand Style, and select the appropriate type for the label. Changing the slider to decrease the "Horizontal distortion" and "Vertical distortion", you can change the degree of distortion of the label.
5
To change the size and font type using the button Toggle the Character and Paragraph palettes. Changing the settings in the tab Characters, you can choose the size and type of font, spacing between letters and lines to distort the letters of the horizontal and vertical directions, to choose a font for another language.
6
Right-click the text and select the drop down menu the option Rasterize Type ("Rendering"). After that you can apply to letters, all operations with layers. Double-click on the layer icon and go to the menu styles. To give the letters the volume, use the option Bevel and Emboss. The sliders to the Depth, Size and Soften achieve the desired effect.