Instruction
1
If you know exactly what to look for in your text, you can adjust the settings. But often the formatting is applied after the input, when you can immediately see the result and, if necessary, to change it, highlight the desired text fragment.
2
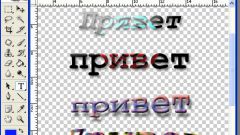
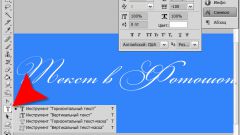
To edit the contents of the text layer, go to mode. To do this, activate the Type tool — the "Text" button on the toolbar at the left side of the screen. Select the relevant layer and click on the image within the text.
3
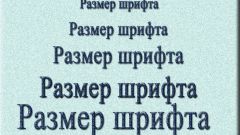
Set the basic parameters of the text using the panel tool Options located at the top of the window. You can choose the type of text — horizontal or vertical, the text font and size, specify the style and smoothing.
4
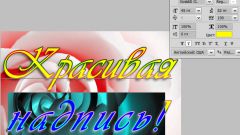
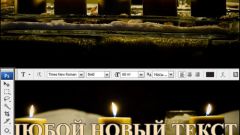
From this pane you'll find three buttons for text alignment relative to the point of entry. Next are buttons that allow you to choose the color of the text, ask it to deform and cause the advanced text palette: Character — Character and Paragraph Is "Paragraph".
5
To fine-tune the text options open the Character palette — "Symbol". There are all functions located on the toolbar, and in addition, include additional elements. To access some of them need to deploy additional menu. It is called by the button located in the upper right corner of the palette.
6
To customize the text alignment, indents and spacing go to the Paragraph palette — Paragraph. Here you can configure such formatting elements as hyphenation and justication. But if the need arises, it is better to create text in another program such as Adobe InDessign or QuarkXPress.
7
To complete the work with a text layer press hot key (Ctrl + Enter) or click the checkmark in the far right of the Options panel. You can just start working with other tool.
Note
The abuse of exotic fonts, and an unfortunate combination of several styles within one job can make the text hard to read, and the design tasteless.
Useful advice
When you use one of the latest versions of the software (not below than Photoshop CS5) you can use the new tool Type Tool Preset "parameter set Selection for the Text tool" which allows you to quickly set the horizontal text using font Minion or Myriad, and the various size options. And create and save your own tool settings.