Instruction
1
To start, draw all the elements and details of the future of layout on paper. The drawing must be to scale 1:50, and its measurement must be accurate. Calculate the dimensions of the roof, walls, facade, area, where the building stands, and other parts of the layout.
2
Transfer drawings on thin plywood and carefully cut out the details. Then in the finished parts cut out window and door openings, and then sand the edges and cuts with sandpaper.
3
Wide slats for the Foundation stick to the basis, and then abrade and clean. Doors cut out of thin plywood and glue thin wooden slats and fit the size of the door leaf so that it is tightly fit into the opening.
4
For Windows use a thin plexiglass and cut it to the shape and size of window openings. Window frames manufactured from thin wooden slats, and then fabricate flashings and trim.
5
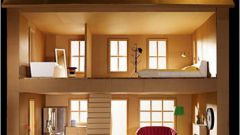
The frame of the roof and galleries are made of plywood, and thin sheet metal bend downspouts and gutters. Attach them to the roof, and then make chimney and a Dormer window in the wall of the attic. The porch can be made from a wide wedges of wood.
6
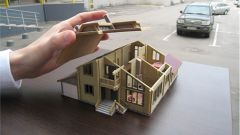
Start Assembly layout after all the items are fitted – doors, Windows, and the like. Secure box to house the roof frame, install porches, attach decorative strips covering the splices of the carcass.
7
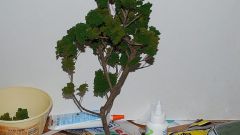
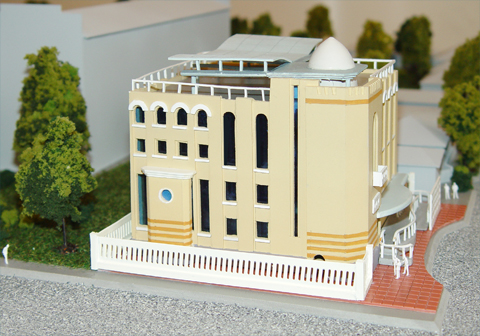
If desired, cut out balusters for porch and balconies. Bring to realism in the form of logs with the help of a needle file and a file. Sand all the pieces of the layout and cover it with a decorative impregnation or lacquer. The layout can be painted with acrylic or oil paint.
8
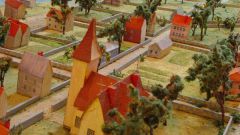
Start with making models of simple design and continue to develop their skills on the more complex buildings.