About a day before the start of work, all connections of the a-pillar of the car Lada Kalina to be treated with lubricant WD–40, this will facilitate the loosening of nuts, soured and will allow you to change the front rack.
Please prepare the necessary tools and devices:
Wrenches 13, 17, 19, special wrench for the top nut of the shock absorber.
You will also need a spring puller, a device for steering a wheel of the finger thrust, Jack, wheel wrench.
Car set on flat ground, to put under the rear wheels and wheel bars brake Parking brake. Loosen the bolts of the front wheels.
Jacking the front of the vehicle, and to substitute stops and remove the front wheels. In order to avoid short circuits, disconnect terminals and remove the battery.
Remove from the bracket on the a-pillar rubber seal along with the brake hose. On the car system ABS is required to disconnect and remove the wheel speed sensor.
Straighten and pull the cotter pin retaining bracket nut ball joint tie rod. Loosen and remove the nut finger ball joint from the steering knuckle-front. For a wheel to use a special puller, hammering is strongly discouraged.
To remember or sketch the position of the upper eccentric bolt in the strut bracket, to the Assembly install the bolt in the same position. This would roughly save the setting alignment.
Remove the two nuts and remove both bolts securing the strut to the steering knuckle. Bring the eye of the knuckle bracket a-pillar.
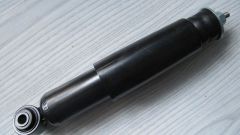
Inside the engine compartment remove the three nuts securing the strut to the front glass. Hold the strut from falling out! Pull the rack down through the gap under the front wheel.
Install the front telescopic shock strut in the reverse order. When installing be sure to install the eccentric washer in the same position and hold the bolt from turning, tighten the nut.
After completing all installation work, be sure to check and adjust the angles of wheel alignment on a special stand.
Tool
Please prepare the necessary tools and devices:
Wrenches 13, 17, 19, special wrench for the top nut of the shock absorber.
You will also need a spring puller, a device for steering a wheel of the finger thrust, Jack, wheel wrench.
Work order
Car set on flat ground, to put under the rear wheels and wheel bars brake Parking brake. Loosen the bolts of the front wheels.
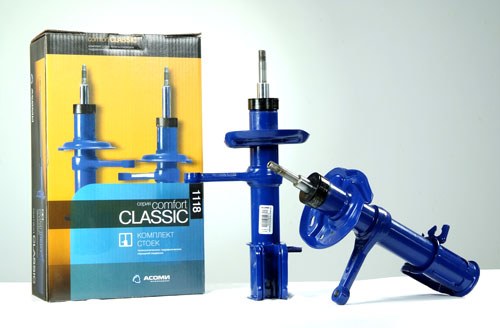
Front suspension struts are replaced only as a pair. If the failed one, changing both, regardless of the state of the other.
Jacking the front of the vehicle, and to substitute stops and remove the front wheels. In order to avoid short circuits, disconnect terminals and remove the battery.
Remove from the bracket on the a-pillar rubber seal along with the brake hose. On the car system ABS is required to disconnect and remove the wheel speed sensor.
Straighten and pull the cotter pin retaining bracket nut ball joint tie rod. Loosen and remove the nut finger ball joint from the steering knuckle-front. For a wheel to use a special puller, hammering is strongly discouraged.
To remember or sketch the position of the upper eccentric bolt in the strut bracket, to the Assembly install the bolt in the same position. This would roughly save the setting alignment.
Remove the two nuts and remove both bolts securing the strut to the steering knuckle. Bring the eye of the knuckle bracket a-pillar.
Inside the engine compartment remove the three nuts securing the strut to the front glass. Hold the strut from falling out! Pull the rack down through the gap under the front wheel.
An arrow located on the upper part of the strut should point forward.
Install the front telescopic shock strut in the reverse order. When installing be sure to install the eccentric washer in the same position and hold the bolt from turning, tighten the nut.
After completing all installation work, be sure to check and adjust the angles of wheel alignment on a special stand.