Instruction
1
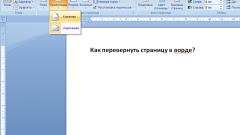
One of the methods of vertical formatting in Word is to insert the desired text into the table. Open Word by using start - All programs - Microsoft Office – Microsoft Word. Create an empty document or open a file to which you want to insert vertical text.
2
In the top toolbar of the text editor click "Insert". Click "table" and create the necessary number of cells.
3
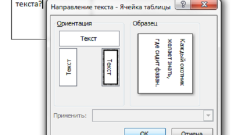
A table appears, type the text you want. Then click the right mouse button and select "text Direction". In the field "Orientation" select the desired text direction.
4
To make table borders invisible, right click on it and select "Borders and shading". In the opened window go to the tab "Border" and select "No", which will give you the ability to display borders.
5
To insert text, you can also use the menu Label. Go to "Insert" the top toolbar of the program. In the list that appears, click the "Text box" and select the appropriate type of labels.
6
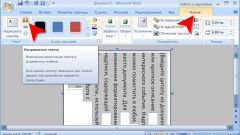
After the text field is inserted at the border, adjust its position using the relevant arrow above it. You can rotate the box to any angle and make the text display vertically. To specify additional formatting options, right-click in the text area and select "More layout options". You can also always use "Home" - "Format" - "Direction of the text" on the toolbar. After all the changes, save the file.
Note
When working in Word 2003, insert a vertical text box can be done by selecting "Insert" - "Label" - "Vertical."