You will need
- - a computer running Microsoft Word.
Instruction
1
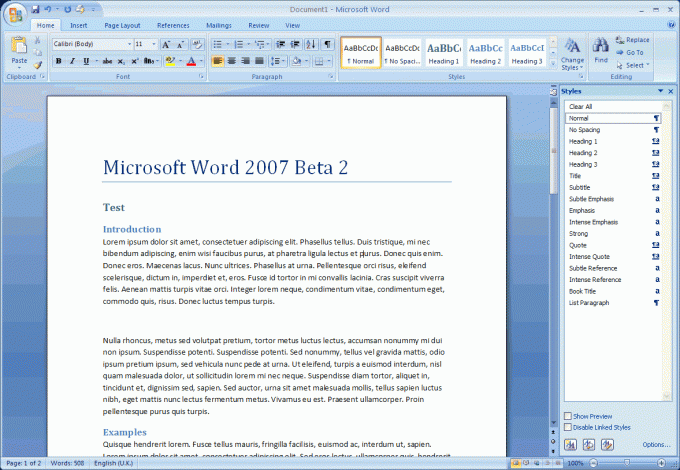
Start Microsoft Word, type the text with headings and sub-headings. Then start making headlines. Highlight the line you want to make the header. On the formatting toolbar, select the style "Heading 1". This style is used for first-level heading (titles). For headings the following levels respectively use the styles "Heading 2". "Heading 3" and so forth, depending on the structure of the text.
2
Use quick way to create headings in the text. To do this, place the cursor in the desired line, press Alt+Shift+left arrow if you want to make a header similar to the previous (for example, the row are two sub-sections, 1.1 and 1.2). If you want to create a heading level below, for example, sub-section after section, press Alt+Shift+right arrow.
3
The header style is used the default format, font Arial, bold. If your document other requirements for the design, format the text as you want. The style remains the same. To change the indentation and alignment of text, select it and click "Format" – "Paragraph".
4
Change the header level using the display of the document in the structure view. To do this go to the View menu, click Outline. From the drop-down list, choose "Show level 9". The screen will display a list of headers which can be changed with the buttons "Left" and "Right" on the toolbar. Also to simplify the structure of the document, click "View" "document map". Then the left panel will appear with the header of your document, any section of text that you can access with one click. Select what level titles will be displayed by pressing the right mouse button.
Note
In different versions of some commands may have different names.