Instruction
1
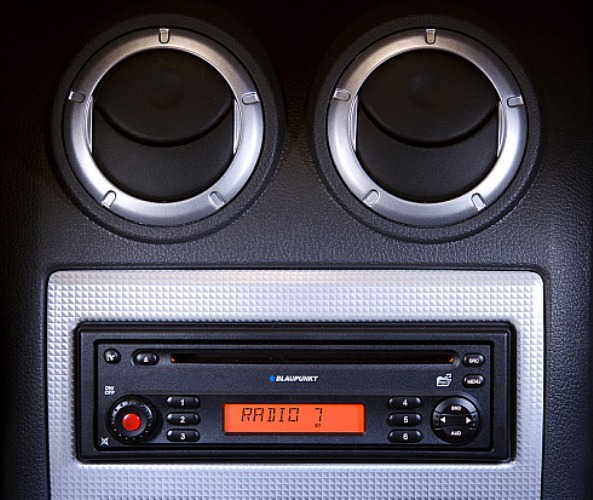
Pull the plug, which is installed on the site of the future radio. To do this, take two thin screwdriver with which to pry the latch and pull the plug. On the reverse part you'll find enshrined the ISO connectors and antenna that need to continue to work.
2
Carefully inspect the antenna connector, it is most likely the so-called "European". This means that when you connect the radio, which is produced in China or Japan, you will have to buy an antenna coupler, which is called "Europe-Asia". Its cost is small and is sold everywhere in stores that sell electronics.
3
ISO connector is intended for what to bring to the radio power, dynamics and switching signals. Inspect it carefully. Remember that his top half is necessary for the speaker connections, and, most likely, the wiring is made only for the front speakers. The lower part of the connector supplies voltage from a battery, to operate the memory device, to turn on the radio after the ignition.
4
Carefully note the color and location of wires that connect the speakers to the opposite side of the connector, it is useful to you in the future to avoid unnecessary confusion when connecting the speakers to the radio. Inspect the type of connector for the speakers, which pick up the right fork, or pitch a homemade adapter.
5
Study the wiring diagram of the audio system in this car. Remember that the standard signal+12V to the antenna is intended for antennas that are automatically nominated after he had been the inclusion of a radio. This type of signal is not required for the reason that regular aerial Renault Logan has a property such as a car radio.
