You will need
- - a cooler of the system unit;
- - screwdriver;
- - 4 fixing screws.
Instruction
1
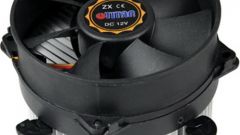
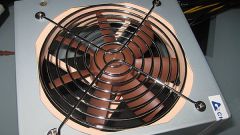
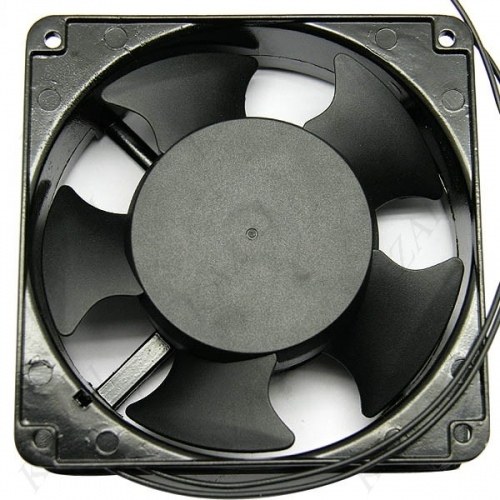
The first thing you need to measure the diameter of the compartment for installation of the cooler. You will not be able to install the cooler that does not fit. This can be done on the external rear side of the system unit. Just measure the distance between holes for mounting screws. On the cooler that you want to pin, the distance between the corresponding holes should be the same. Mainly to cool the body using fans with a diameter of 120 mm.
2
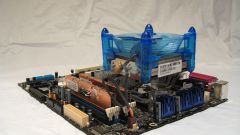
Unplug the system unit from the power supply. Disconnect all peripheral devices. Then remove the cover. Insert the cooler into the compartment. As already mentioned, it is located on the rear panel of the system unit. Some expensive buildings can be several mountings for the cooler system.
3
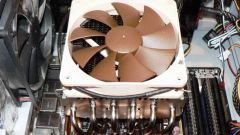
Gently supporting the cooler inside the system unit, fasten it to the mounting screw from the external side of the housing. After that, the fan can be released. Fasten the remaining mounting screws.
4
You only have to connect power to the fan. You need to find on the motherboard 3-pin connector. If you have a diagram of the motherboard, first you can see the location of the connector to the system Board on it. It is usually located in the upper left corner of the motherboard. Insert the power cord from the cooler at the connector. The fan is now fully ready for operation.
5
Connect to the system unit power. Other devices to connect while it is not necessary. Turn on the system unit, see if it works cooler. If it works, you can turn off the computer and close the cover of the system unit; if not, the reasons can be only two. It's either the fault of the cooler or you haven't fully inserted the power cable into 3-pin connector. Check power connection again.