You will need
- Computer, cooler, screwdriver
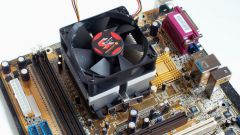
Instruction
1
First you need to disconnect and remove the unit 's power from the computer by opening the lid of his body. Disconnect all wires of the unit power from components of the system unit. Unscrew the mounting screws on the rear panel of the computer and remove the PSU from the case.
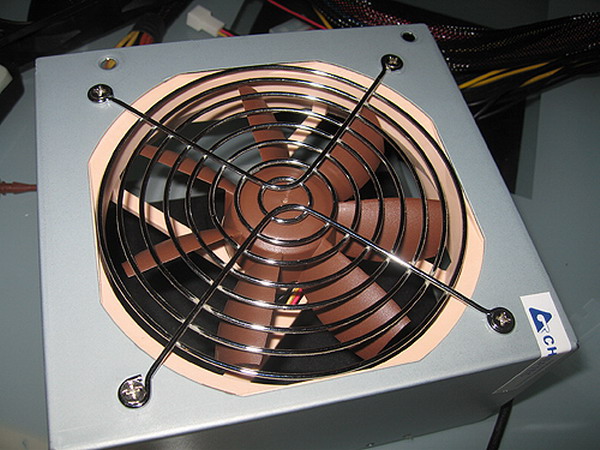
2
Now Unscrew the screws on the body of the unit power supply and open the lid. Then you need to disconnect a wire through which voltage is applied to the cooler power supply.
3
Here two variants are possible, depending on the unit model power supply. The first option. The fan is attached to the Board with a special plug. To turn off the fanand unit power , you just need to pull the wire itself.
4
If you do not see the mounting location of the fanand a special connector, so the wire is just soldered to the motherboard on the unit power. In such cases it is necessary to accurately cut the wire of the cooler at the point closer to the fan.
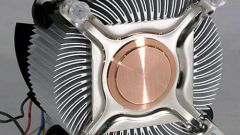
5
Now Unscrew the fan from the lid of the unit power supply. It is attached using four bolts. You need to pick up the cooler exactly the same size. The store of computer components you can do it without problems.
6
If you are in the unit of power is the socket connection (from which you removed the fan), just plug in the new. If you cut the wire, then a new cooler you need to solder. To do this, cut the wires on the new cooler. Next solder the wires that you cut in the block of power supply, to the wires, clipped to the fanE. then be sure to "insulate" the contacts.
7
After the fan is connected, connect it to the unit supply. Close the unit power supply and screw back the screws. Be careful not to pinch any wires. Install the power supply into the case. To test it connect the wires to the motherboard and turn on. If done correctly, the unit power must earn it.