You will need
- Computer, cooler, screwdriver
Instruction
1
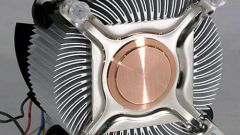
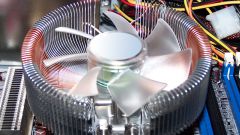
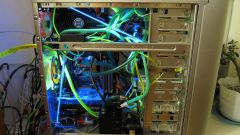
Disconnect the computer from the mains. Unplug the system unit all attached devices. Remove the cover from the system unit. It is fastened with screws. Unscrew them. On some buildings there may be more latches. Now, notice how it attaches the cooler to the motherboard. Option can be two. In the first embodiment, it can be fastened with screws to the front of the motherboard. In this case, in order to remove the cooler, just Unscrew the four screws. Pick a suitable screwdriver and Unscrew these screws. After that just disconnect the cooler from the motherboard and remove it from the system unit.
2
In the second variant, the cooler can be mounted to the motherboard from the back side. To remove the attachment, you will have to first remove the motherboard from the system unit. Disconnect from the motherboard all the power supply wires, including the wire on and restart the computer. Remove the four screws on the edges of the motherboard. Then see if it still screws. If you find them Unscrew.
3
After Unscrew all the screws, gently remove the motherboard from the computer case. From the back of the motherboard, Unscrew all the screws that attach the cooler to it, and disconnect it.
4
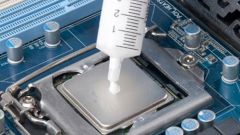
Perform all necessary operations with the cooler (clean, grease) and screw it back. After the cooler was connected, install the motherboard into the computer. Fasten it to the wall of the housing of the computer, and then connect the power wires and the wires coming from the power supply. Close the cover of the system unit not in a hurry. Connect the computer to the power supply and turn it on. Check the operation of the cooler. If everything works, shut down the computer and secure the system cover. Connect all previously disconnected devices.