You will need
- - Phillips screwdriver.
Instruction
1
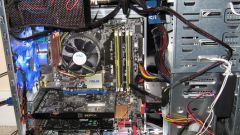
First determine the type of fastening of the fan. To do this, open the system unit and visually examine options for the installation of the cooler. Usually use screws or glue. The latter option is only suitable for the connection of the fan with the radiator, because gluing the cooler to the chip is strictly prohibited.
2
Now select the fan power. Find out the speed of rotation of the blades. This this parameter depends directly on the degree of cooling of the device to which is attached the cooler. To the parent Boardusually joins only one fan installed on the heatsink of the CPU. This is a very important part of the computer, so choose a sufficiently powerful cooler.
3
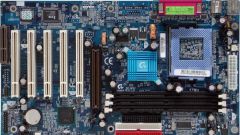
Determine the type of power connection for the selected fan. On the mother Board should be connectors consisting of 2, 3 or four pins. If on the mother Board are no free connectors for connection of the fan, select another device, such as a graphics card to which you will be able to connect the cooler.
4
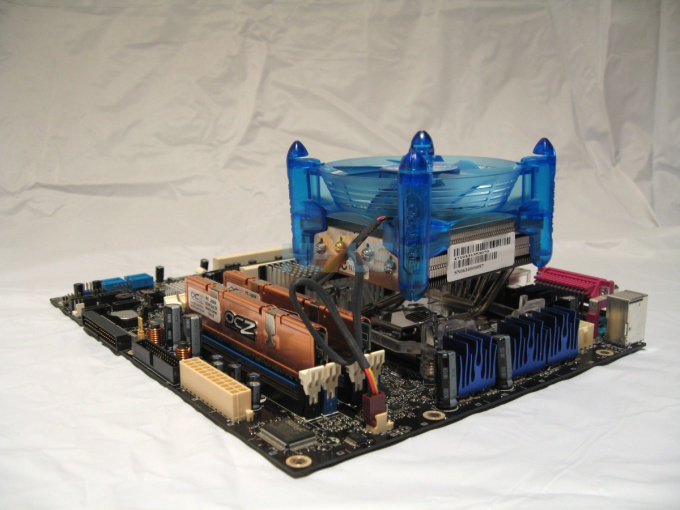
Attach the fan to the heatsink of the CPU. Remember that both of these devices are usually sold with the kit. If you only purchased the fan, ensure that it is securely fastened. If not promptly determine a failure of the cooler, it may cause damage to your CPU.
5
Connect the power to the fan. Turn on the computer and make sure that the cooler is stable. After the operating system install SpeedFan and run it.
6
View temperature sensor installed on the CPU. If the temperature is too high, increase the speed of rotation of the blades. Do not close the program, to be able to periodically assess the state of the CPU.