You will need
- - transparent or white paper for decals;
- - a sheet of paper;
- - clear lacquer;
- - roller;
- paper towels;
- - a container of clean water.
Instruction
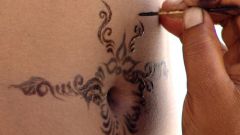
1
Create design decal in your favorite graphics application. This can be, for example, Microsoft Word or Adobe Photoshop. You can also use a scanner and digital camera to import a specific image or graphical element.
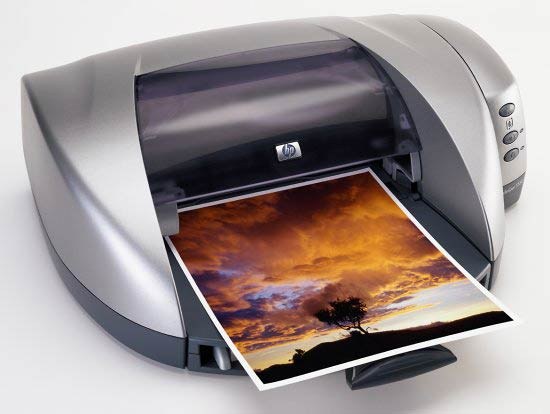
2
After you have prepared the layout for the decals, print them on glossy photo paper or bright white heavy paper.
3
Make the required number of copies on special paper for decals with the help of a photocopier. Since it is thicker than plain paper for printing, your copier can't handle this job. You can go to any printing house where you will help to make copies.
4
Apply with spray 2-3 thin coats of varnish to the surface with the image. This will protect it and make the picture a little tighter. Each layer of varnish must be completely dry before applying a new one.
5
After the last coat of varnish is completely dry, carefully cut out the picture. Soak in clean water for several minutes.
6
Lightly wet the surface on which you're going to take a picture. This will allow you to adjust the location of the image.
7
Gently slide a picture for about 1 / 3 from the edge of the backing paper and apply to surface. Gently press the edges to seal, at the same time slowly remove the backing paper.
8
Adjust the images on the surface. Do this very carefully, as wet paper can tear even with the slightest wrong movement.
9
Press image roller and gently smooth their surface, removing all the water and bubbles.
10
Blot image with paper towel. They will absorb any excess water on the surface. Allow decal to dry for 10-12 hours.