You will need
- Board;
- photography;
- - laser printer;
- - fine sandpaper;
- - PVA glue;
- - acrylic lacquer;
- - sponge;
- - warm water;
- - acrylic paint.
Instruction
1
So, first you need to zoom in to the required size, then print it is certainly on a laser printer so that you get a reverse image.
2
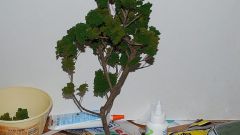
Now it is necessary to prepare a wooden Board on which the transferred image. It is necessary to process an emery paper to remove all roughness and irregularities.
3
Then, the treated surface of the wooden boards you need to cover with PVA glue. If not, you can use acrylic varnish, but it's better to apply the first.
4
Next, the printed photograph should be put on a wooden Board so that the image was at the bottom. The printout carefully smooth out with a sponge and squeeze out all the air. From this procedure depends on the quality of DIY, so do everything very carefully, slowly.
5
After the printout is overlaid on a wooden surface, you need to give her time drying. It dries in approximately 12 hours.
6
After a time, remove the paper from the Board using warm water and sponge. Do not worry if the paper is poorly removed with a sponge. In this case, you can simply roll your finger - the image will be nothing.
7
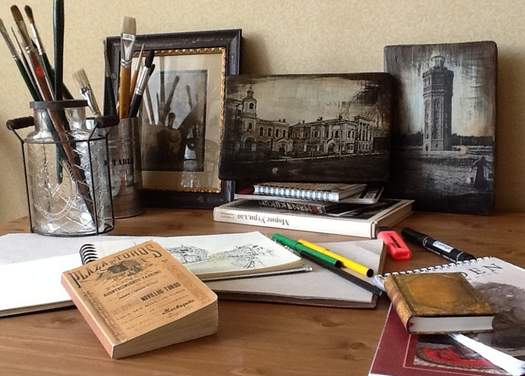
Once the image has dried, it must be covered with acrylic paint, then let it to dry completely. Transferring photos to wood is complete!