You will need
- glue "Moment"
- - two pieces of thin cloth (a bandage) or toilet paper
- a scalpel
- - tweezers
Instruction
1
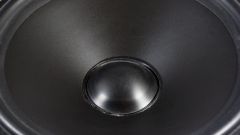
Prepare a bandage or fabric, embellish it under the color of speakers. Next, apply the fabric glue and carefully glue the inner and outer sides. If you are afraid to hurt or not to glue, glue only the outside. Correct tweezers or a scalpel. Wait until the glue dries.
2
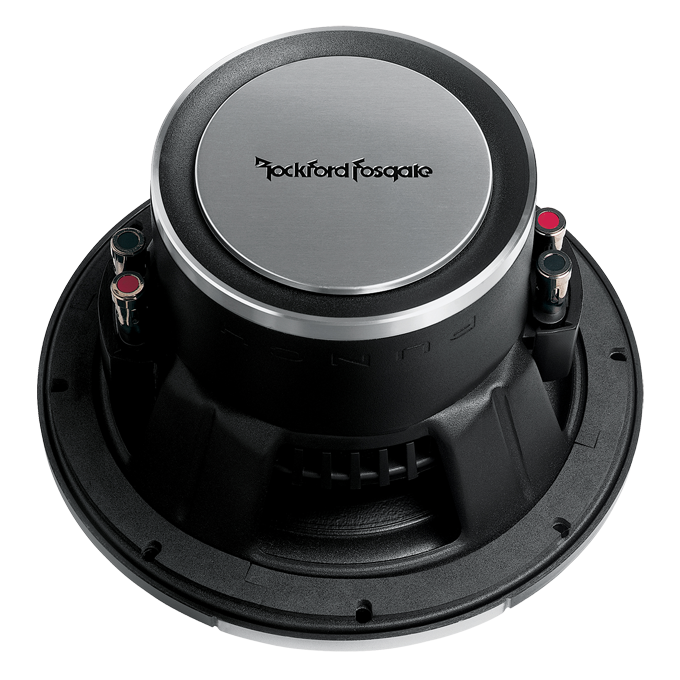
If the problem speakerand more than the hole in the fabric, here is the next instruction. First you need to unsolder all live wiring from the terminal block. Acetone is sprayed over the cap in the center of the diffuser. Once the glue is dissolved with a scalpel to gently heave and throw away the cap. The same steps repeat with the centering washer.
3
Now with acetone detachable suspension of the diffuser. Once separated, remove the diffuser with centring washer basket. Now we have to rewind the coil. If the coil is open at the base, you will first need to solder, but do not speak for the base. When everything is ready, you can start rewinding. To do this, insert a tube of suitable diameter into the coil and rewind the old coil, noting the number of turns. The coil is lubricated with a "Moment" and wound the new wire. Then solder the new coil to the patch and you are ready to build.
4
Clean the basket and insert the diffuser. Through the film and center the coil (film rolled into a ring and inserted between the core speakeras the coil). You first need to glue the suspension of the cone with glue, and after drying of the suspension centering washer (be sure to press the place of bonding). Once the glue has frozen, tear off the film and check the progress of the coil. If all goes well, attach the protective cap and put it somewhere column at the time of complete drying. If the scan crackle of the coil, that will have to detach and again to check the coil or the spacer washer. In principle, this entire process. Speaker it is advisable to check for nominal power.