You will need
- stud;
- cutters;
- - the file;
- - wire;
- - clip;
- - hammer;
- - magnetic tube;
- glue;
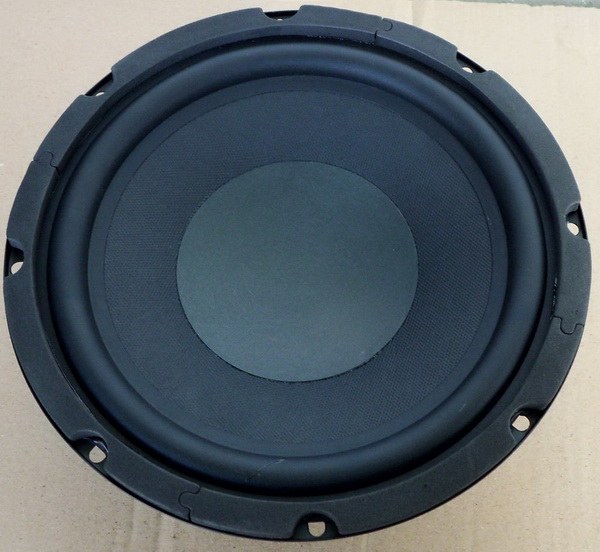
- - woofer;
- - DSP;
- - personal computer;
- - a drill bit;
- plaster on wood;
- - spatula;
- - sandpaper;
- adhesive;
- - silicone;
- - wire;
- jig - saw.
Instruction
1
Pick up the wire cutter part of the nail (leave this part of the nail, which would match the height of the generated dynamics). Then gently with a file to file the side of the "biting". On the part of the nail, where there is a hat, wrap copper wire with enamel insulation.
2
Make the base: beat with a hammer an ordinary office supply metal clip, causing it to turn into a small piece of foil.
3
After that, take a magnetic tube, install a nail with a coil and stick it to the base. Of the second metal clip make thin, like foil, a plate and set it on top of the magnetic tube.
4
Connect the speaker and enjoy listening to your favorite music.
5
Assemble the subwoofer. For that buy for him "heart" – woofer. Then everything is simple: with the help of a program to calculate the cut size of the body. This is a very important step, because the correct definition of the sizes will depend on the quality of the sound. The housing is manufactured from chipboard with a thickness of 24 mm. Transfer the dimensions of the subwoofer on the chipboard and cut. Then connect the walls of the future subwoofer with screws, pre-drilled holes with a drill of suitable diameter. For reliability over the docking of the chipboard with glue on wood.
6
Follow the internal handling of the subwoofer. All domestic connecting promazhte seams with silicone sealant. Then zashpaklyuyte the inner walls of the subwoofer, and then sand to the desired grit and grind wall. Jigsaw cut the holes for the socket and the port, and make the body beautiful pen. After the performed procedures obkleyte subwoofer decorative self-adhesive. Finally, attach the speaker, phase inverter and wire.
Note
Be careful when working with a jigsaw. Just watch your fingers.
Useful advice
If you use the adhesive under the leather, the subwoofer will look quite stylish.