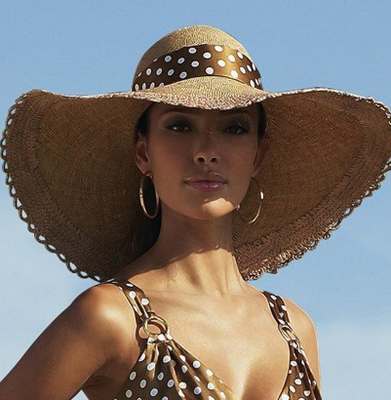
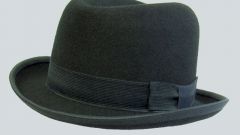
You will need
- A dense fabric, interlining, sewing supplies, ribbon.
Instruction
1
We give the most common and simple way of making summer hats. It is necessary to prepare a dense natural material of cotton or linen. For a bonnet you need about 1 meter of fabric with a width of 1-1. 5 meters. The fabric can be plain or colored. Also prepare prokleivayutsya gasket interlining.
2
Before we will open to remove the following sizes. Measure circumference in inches around the head at the level slightly above the ears. The second size – height from tip of ears to the top of the head plus 2-3 inches for a relaxed fit.
Then draw a pattern of a circle with a diameter of the first measure. To mark the circumference into 5 equal parts. Draw the pattern of the wedge, where the base is 1/5 of the circumference and the height is drawn on the second size. Wedge to connect the edges of the concave line. Thus, the wedge will be in the form of a petal.
Then draw a pattern of a circle with a diameter of the first measure. To mark the circumference into 5 equal parts. Draw the pattern of the wedge, where the base is 1/5 of the circumference and the height is drawn on the second size. Wedge to connect the edges of the concave line. Thus, the wedge will be in the form of a petal.
3
Now you need to make a pattern field cap. The fields are as follows. Draw a circle for the first size plus 3 inches. To postpone perpendicular to the circumference of 6-8 inches. At the marked point to draw another circle parallel to the first.
To impose a pattern of wedges and fields on the fabric, folded in half. To carve out a seam, cut one centimeter. The result is 10 and wedges the two parts of the cap fields.
To impose a pattern of wedges and fields on the fabric, folded in half. To carve out a seam, cut one centimeter. The result is 10 and wedges the two parts of the cap fields.
4
To glue all the parts laying interlining. The interlining is cut in the shape exactly according to the pattern of the wedge and fields. But glued only the upper part of the cap. That is one detail fields and five wedges. Glue the strip with a hot iron.
After half an hour you can start sewing. Initially sewing all glued gasket wedges, then wedges are without a gasket. Get 2 beanies. Then the fields superimpose each other, stitch on a great circle, to turn out, ironed. Cap with gasket to sew the fields with the gasket. Cap of wedges without having to invest in the top cap seams to each other. Neatly hand sew the bottom cap to the lower fields.
After half an hour you can start sewing. Initially sewing all glued gasket wedges, then wedges are without a gasket. Get 2 beanies. Then the fields superimpose each other, stitch on a great circle, to turn out, ironed. Cap with gasket to sew the fields with the gasket. Cap of wedges without having to invest in the top cap seams to each other. Neatly hand sew the bottom cap to the lower fields.
5
To give the hat shape with your hands, to sweep away at the seams of primaqiune fields and neatly with small stitches to stitch through. The finished hat to be ironed. You can decorate the finished hat beautiful lace, bows. It is possible the inner part of the cap to sew contrast colour or printed fabric.


