You will need
- - wooden blank;
- - fetr;
- - special adhesive;
- - pins;
- - needles;
- - small nails;
- jewelry.
Instruction
1
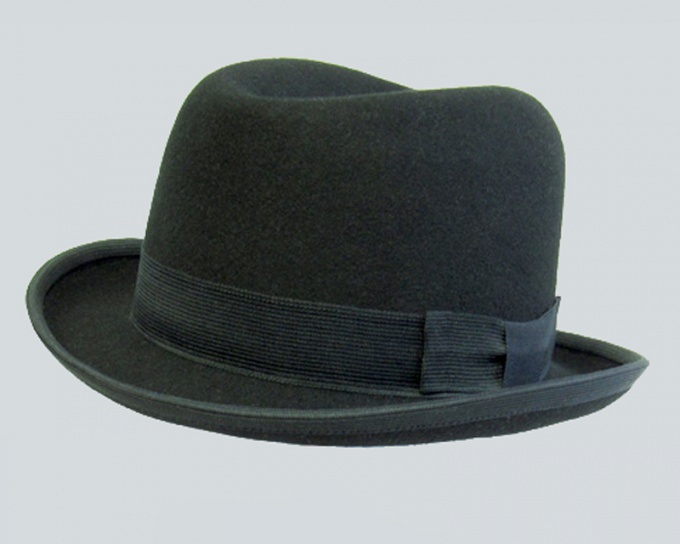
For the manufacture of felt hats there is a certain technology. Adhering to it, you their hands will figure out a headpiece, which is not more than none.
2
First, you need to prepare the hat blank. The easiest way to order a master patternmaker who is engaged in wooden pads. He will make the right measurements, and after a while you will receive the finished Shoe. Usually they are made of lime tree wood, to make it easier to hammer the pins in the process.
3
For the manufacture of hats use a felt cap. Wet it well with cold water. Wait until it is completely soaked. It is better to use special adhesive for felt. If you manage to get it out, dissolve the powder in water, mix well and brush the entire underside with this solution, give a good soak. In this case, the future hat will have a more rigid form.
4
Then soak the prepared felt on the ferry. You'll be surprised how it will start to become more plastic.
5
When felt sufficiently softened, sprinkles it on the disc. Then quickly stretch it and enveloping movements of the mold the shape of the head.
6
At the end of the moulding hats go to her fields. To do this, hold the edge, and in the place where your hat will go in the field. This region is called a line prisada and fits your head circumference. Next, tie a bandage or cord disc with felt on the line prisada. And that he did not slip, attach small nails or thick needles.
7
Top hats fixed, go to the fields. During which time they dry, so hold it over steam its design. After steaming, pull the felt for the fields and nail studs to the pre-prepared Board. Don't try to achieve perfectly round fields, just pull with a small margin.
8
After that, leave the harvesting to dry. Then check the boxes of the desired diameter and remove the hat blanks. Neatly align them on the planned line. All the hat blank is finished.
9
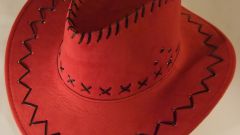
Decorate the hat and decorate according to your taste.