Instruction
1
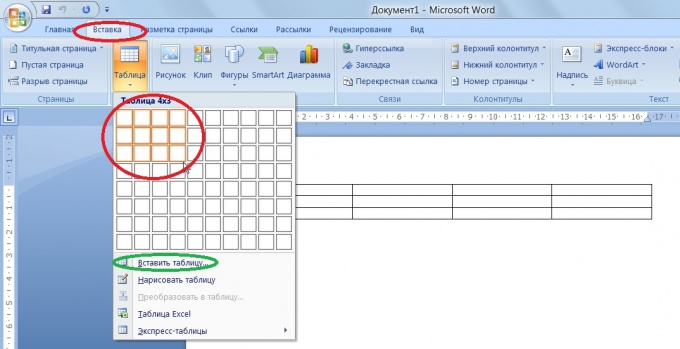
To do in a Word table, go to the tab "Insert" in the top bar of the editor and find the section "table". Click on it and select the required number of cells in accordance with the desired table partitions.
2
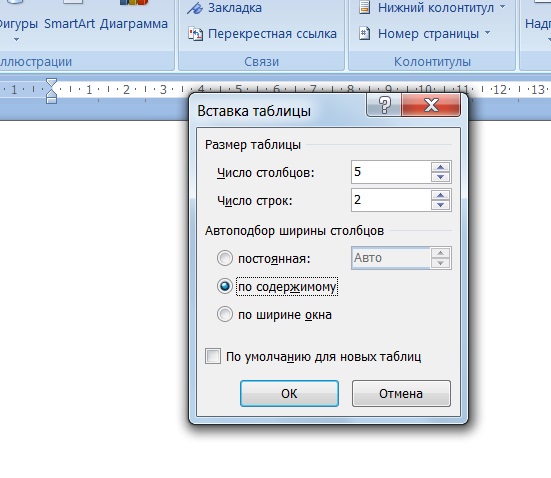
If you want to create more columns or rows, click "Insert table" and in appeared window enter the numbers of the sizes. There you can select AUTOFIT column width. It is convenient to make the cell sizes according to their content.
3
If you need to enter the formulas in your table, you can directly from the text editor to call the Excel table if the corresponding program is installed on your computer. If you need to insert an ordinary table list or calendar view, you can use Express tables.

4
When you make a table in Word, you can begin to edit and fill. Highlighting the appropriate text, change its color, size, way of writing. Through the tab, "Paragraph" customize indentation, spacing, alignment on width. Usually the text in the body of the table should be printed in Times New Roman 14, with a left-aligned interval. The exception is the first row, it is aligned centered and is in bold.
5
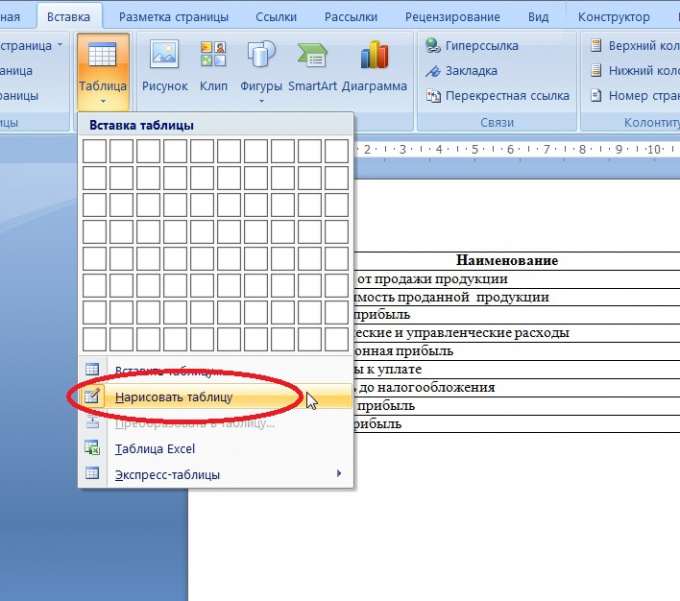
If you need to add a new column or row into the table in word, use the "Draw table" and drag in the right places the lines manually.
6
To change column width or row height, hover your mouse over the line. When you see arrows pointing in a different direction, pull the line in the right direction to obtain the desired result.
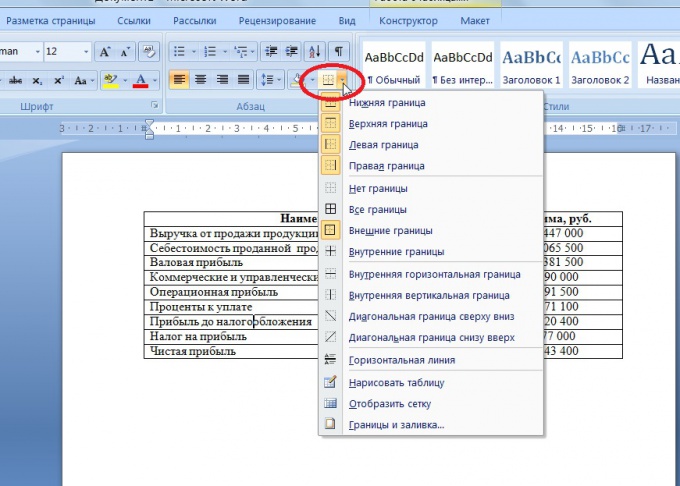
7
To change the settings of the borders and make the cell shading you can use the special window in the Home tab in the upper pane of the editor. So simply to make a table in Word and edit it.