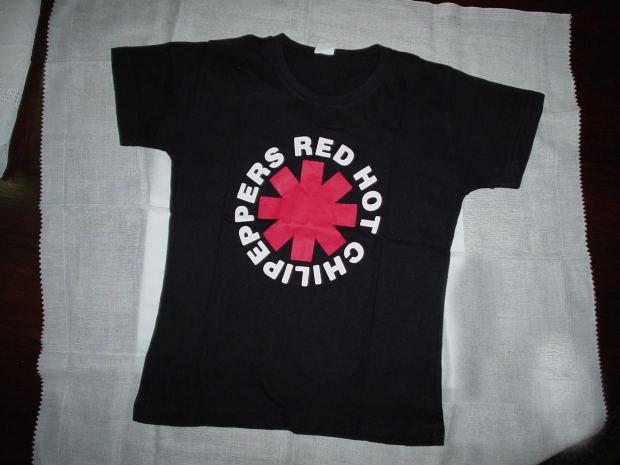
You will need
- - thermal transfer paper;
- - pillow case or bed sheet;
- - scissors or utility knife;
- - iron.
Instruction
1
Once you have chosen an image, prepare it for printing. Print positive, so the image must be reversed. In the driver settings, you need to select the best print quality. It is better to first make a draft copy on plain paper.
2
If the picture you are completely satisfied, print on transfer paper.
3
Let the image dry. It will take about 30 min.
4
Cut the image along the contour. It is better to leave the edge width of about 5 mm, but this should be done only in the case if you transfer photo on white fabric.
5
Put a folded in several layers of the sheet or the pillowcase on the table or use the Ironing Board. Put cloth, which will be translated photo.
6
Place the paper image down on the fabric surface. Strong, but not sharp movements of iron iron the image for 60-90 seconds. Do not use steam and try to evenly to iron all the elements of the picture.
7
Wait 10 seconds and carefully remove the paper. To do this, first pull up one corner and check the transferred image. If you are not satisfied with something, fix it again iron. Remove the paper in the direction in which the fabric is less stretched.
8
Wait 10-20 minutes and then smooth the image using tracing paper. Every time you stroke a product, remember that, paving the image itself, not using tracing paper, you risk to spoil the iron.
Note
Be careful when choosing paper. At the moment the most famous manufacturer of thermal paper is Lomond. It produces materials for inkjet and laser printers, so choose a paper to match your printer.
For transferring of the image on the cloth is better to use a cotton cloth without additives.
For transferring of the image on the cloth is better to use a cotton cloth without additives.
Useful advice
The finished product in the wash should be turned inside out and washed at a temperature of 40-60ºC.


