Instruction
1
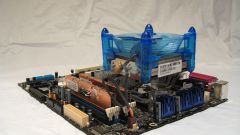
Disconnect the computer from power and open the cover, removing the rear panel screws with a screwdriver. On some computers the side wall rests on special mounts, which should be loosened to gain access to the contents of the case.
2
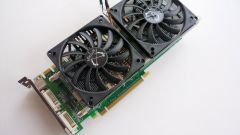
Removing the side wall, define the place of installation of the cooler. It should be defined depending on the role of the installed fan. If you plan to install the fan on blowing, fixing them should be on the back of the computer. To ensure housing cold air set the fan on the front panel, removing the interfering parts with a screwdriver.
3
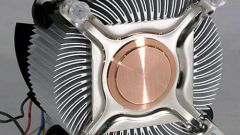
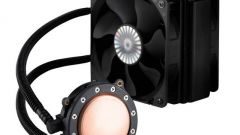
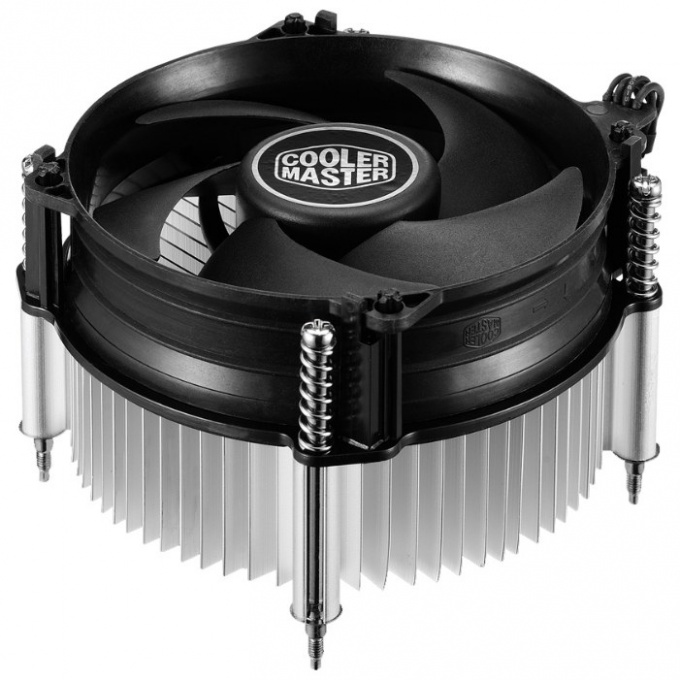
If you are installing the cooler on the CPU, carefully examine the method of fastening of a radiator. Loosen the clips of the fan and Unscrew the screws with a screwdriver. Remove the radiator and note the port to which the transaction is power connected to the motherboard. Also look at the amount of thermal paste on the processor. If the paste has dried, apply a new thin layer of the composition on the stone.
4
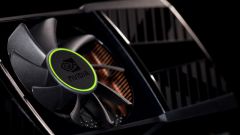
Carefully remove the old cooler and install the new one, then fasten it with screws. Transactions connect power to the motherboard.
5
When installing the cooler, note the presence of connectors for connecting extra cooling to the motherboard. Slots for connection of the fans are referred to as SYS_FAN with the corresponding markings on the motherboard.
6
After installation, secure the fan with screws. Connect the computer to the power supply and turn it on by pressing the appropriate button on the housing. If the connection was done correctly, the fans start to spin. Secure the side cover of the case. Installing fans in computer case completed.
Note
Place, connect the CPU fan to the motherboard CPU_FAN is indicated.
Useful advice
The amount of fans that can be connected to the computer can vary depending on motherboard model.