You will need
- - screwdrivers;
- - Speed Fan.
Instruction
1
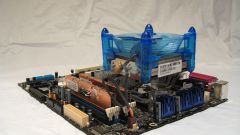
Start with finding out the reason why the fan has stopped working correctly. Turn off the computer and unplug the power cord. Get access to the internal components of the PC, removing the left cover from the housing.
2
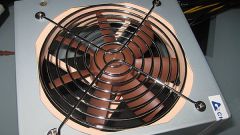
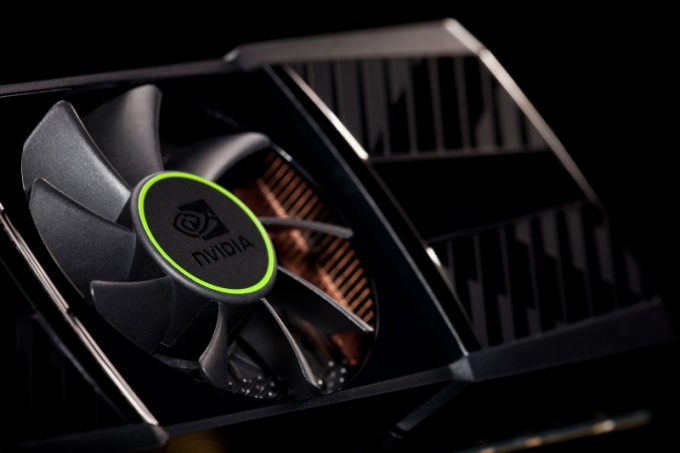
Make sure that the device is connected to the power plugs. They are usually located on the equipment, which is attached to the cooler or the motherboard of the computer.
3
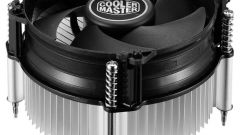
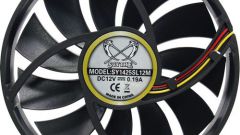
Check the lubrication of the axis of rotation of the blades. To do this, rotate the fingers of the blade and verify that they rotate freely. Otherwise, replace the cooler or try to replace the lubricant.
4
If the problem is not a technical problem, check your fans. The first sign of a wrong configuration – turn off all coolers computer. Turn on PC and open BIOS menu. To do this, hold the Delete key.
5
Navigate to Advanced Settings and find the item containing the name of the word Cooler or Fan. Set selected item set to Always On. If your motherboard BIOS allows you to manually set the speed, enable 100%.
6
Save the configured settings. Restart the computer and check the fans. If the coolers still are not running, download and install Speed Fan. Open the tool and wait until it has finished gathering information about the available fans.
7
Install displayed for each of the cooler the indicator of speed of 100%. Disable AutoSpeed. Save the settings. Try to reduce the speed of the fan. Possible cause of fault insufficient supply voltage for the coolers.
8
Install 20-30% of the maximum speed. Replace the fan if all the above procedures have not led to a positive result.