Instruction
1
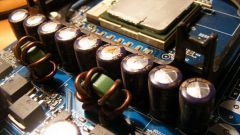
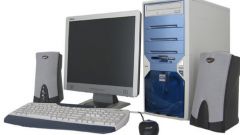
Make sure that the computer is completely powered down. If it is running before you disconnect the power cord from the power unit to correctly shut down all applications and the operating system.
2
Remove the power adapter so it doesn't block the motherboard. Beware of his falling on the CPU fan.
3
Inspect the motherboard to determine the presence therein of the internal speaker. It is made in a round black casing with a diameter smaller than a penny coin and a height of a little less than a centimeter. In the middle it has a hole with a diameter of about three millimeters, which is visible through the metal membrane.
4
If the dynamics on the motherboard has not appeared, proceed to the connection of loudspeaker, part of the body. Find coming from the front panel cable, equipped with a wide four-pin connector. Extreme contacts involved, and the average - no, in this case, the appropriate apertures usually even no metal parts. Sometimes instead present two separate one-touch connectors.
5
Locate on your motherboard the multi-pin connector that is connected to the rest of the cables from the front panel. Look near the connector decoding of the destination contacts. Connect the speaker Jack to the pins designated as SPK, SP, SPKR, SPEAKER, etc. If the dynamics of the two separate one-touch connectors, connect them as if it was one four-pin connector with unused medium-sized terminals.
6
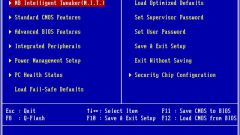
Install the power supply in place. Close the computer and turn on. At the stage of BIOS boot, you will hear one short beep - a signal that the self test was successful.
7
Launch the computer application that uses the system speaker. It is best to use real DOS, not the emulator, so the sound is not distorted. Maybe previously you didn't even know that this or that old guys are able to sound.