Instruction
1
Take the time to look at the manual for the sound card (or motherboard if the audio subsystem is integrated). Find out fitted sockets for audio contacts responsive to the connection plugs. If there is trouble it is better not to produce the possible error in the audio subsystem.
2
Unplug the computer and all attached peripherals. Position the system unit so that it is convenient to maintain. Then remove the left cover (if horizontal - top).
3
If the body is provided with front jacks for audio devices, inside it you will find two to nothing connected to the socket. They are usually attached to any stand to avoid touch the motherboard and other components. Untie them.
4
Take a look at the back wall - are there any holes for expansion cards, the same which the plugs. If none exist, remove one of the plugs that are better located as close as possible to the sound card. Thread the cables into the hole.
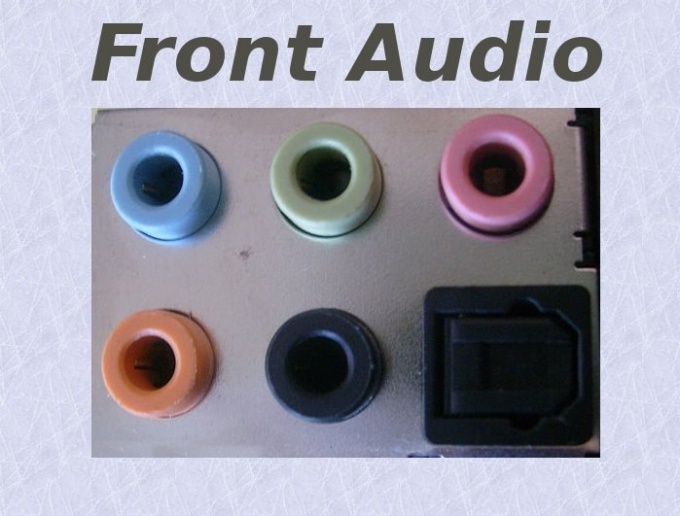
5
Remove card speakers (or headphones) and microphone. Connect instead, plugs in accordance with their colors (red input, green output). Audio device connect the jacks to the front panelwith matching colors.
6
Install on the computer case left cover. Power on the computer and all peripheral devices. Make sure that the sound card still works. If you're in the wrong socket, adjust the connectors on the rear seats. It does not touch the metal contacts and computer case simultaneously, especially if the speakers are working from the network. Better before that, temporarily disconnect them. Further, realizing the fast disconnection and connection of audio devices to the front panel while the computer is also pre-obestochivaete those speakers (and microphones with built-in or external amplifiers), which are fed from the network.