You will need
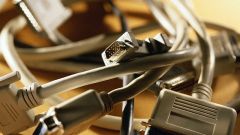
- The connecting ribbon cable, system unit, motherboard.
Instruction
1
When connecting the connectors of the ribbon cable to the motherboard, you need to figure out which wire is responsible for a specific operation. Typically, the loop consists of 4 or 5 pairs of twisted wires. They have the following designations:
- HDD status LED HDD activity, signal lamp-red glow;
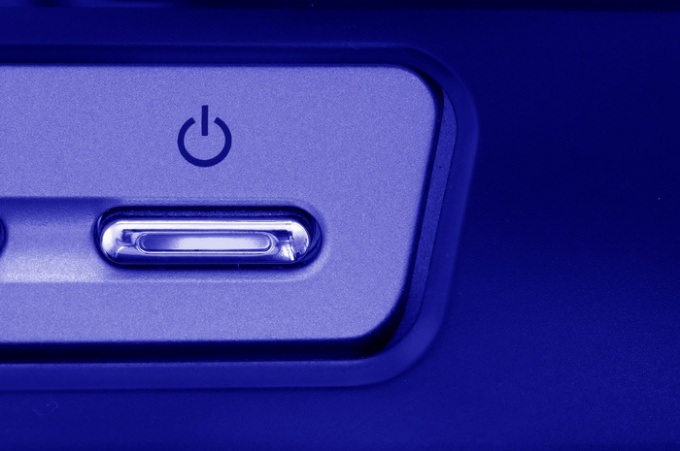
- POWER SWITCH – power button and power off the computer;
- POWER LED indicator computer.
- RESET SWITCH – the reset button of the computer;
- SPEAKER – speaker system, serves to alert of the problems when the computer is booted.
- HDD status LED HDD activity, signal lamp-red glow;
- POWER SWITCH – power button and power off the computer;
- POWER LED indicator computer.
- RESET SWITCH – the reset button of the computer;
- SPEAKER – speaker system, serves to alert of the problems when the computer is booted.
2
It should be noted that in each system unit, these labels can be reduced. For example, connector POWER SWITCH often represent POWER SW. Before proceeding to the connection of buttons and indicators, you need to study the manual to your motherboard. It shows all actions associated with the connection of this loop. Besides, on many motherboards in the connection area of the plume, the manufacturer specifies the name of the connectors.
3
During the connection, note the labeling of the connectors, they identify the parties, which is "+". If the bulbs after the connection is not lit up, is enough to turn them exactly 180 degrees. After connecting all the connectors to the motherboard, turn on the computer. If any led or button does not work, unplug the computer and check the cable connection.