You will need
- - the drawing paper;
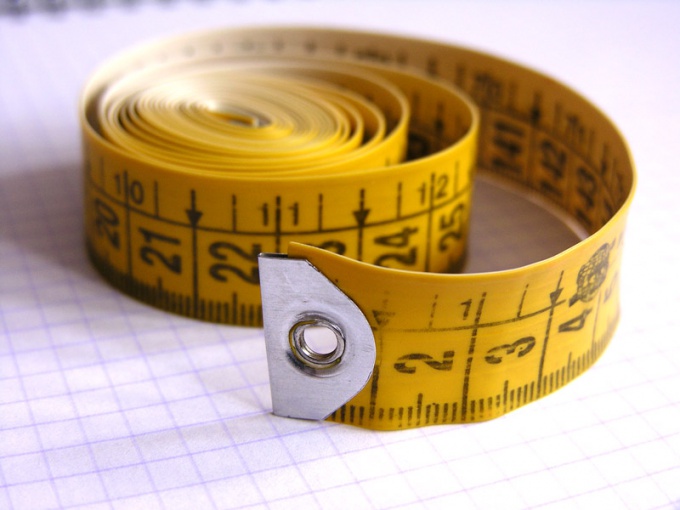
- - the tape;
- - the range;
- pencil;
- - a pair of scissors.
Instruction
1
To build good patterns-the basis of adjacent silhouette dress, you will need to take and record measurements: - poluobhvat neck, poluobhvat chest, poluobhvat waist, poluobhvat hips, length of back to waist, shoulder width, rear height of the openings, the height of the oblique shoulder and the length of the product. All values are recorded in centimeters.
2
Build a pattern of the back.
On Whatman paper on the left side, draw a straight angle. Label the vertex of the angle point A. From this point put down: measure the height of the openings in the back minus one centimeter (point G), measure the length of the back to the waist minus one inch (point T), the measure of the length of the product (point N). Put down from point T the height of the hip line (20 inches for all sizes). Label the point B. Through the points G, T, B and H, draw a horizontal straight. From the point And put down a 2.5 cm for all sizes (depth of the neck at the back). Designate a point A1, and to the right of And set aside a third of the measurements of poluobhvat neck plus 5 mm (point A2). Connect the points A1 and A2 is a smooth line.
For registration of the line of the shoulders put to the right of the point A the measure of the shoulder width minus 5 mm (point A3). From A3 to put it perpendicular to the line to the breast line (point G1). From point T draw a arc, the radius of which is equal measure - the height of the shoulder slash. A point on the intersection segment А3Г1 designate by the letter P. Connect the dots A3 and P.
For registration of openings put to the right of the point G is divided into two value measurements of poluobhvat chest minus one centimeter (point G2). In order to draw a line armhole find a few more points. Put the 0.15 cut Г1П up from G1 (point P1). Next, cut 0,4 Г1П (point P2). From P2 put the left 1.2 cm (point P3). Connect L1, L2 and L3 smooth line.
For design of lateral a-line backless aside from the point T to the right is divided into two value measurements of poluobhvat waist plus one inch (point T1). Then to the right of point B, build is divided into two values, measurements of poluobhvat hips, minus one inch (point B1). Spend a perpendicular from point B1 down. The point of intersection with the line of the bottom indicate H1. Now complete lateral line. Connect the dots G2, and T1 is a straight line, the points T1 and B1 - smooth, and the points B1 and N1 - line.
3
Build a pattern of the front.
On the same piece of the swipe from the right side of the vertical line. Mark the points of intersection with horizontal lines. Name upper point In the intersection line of the chest – point G3, with waist – T2, hips – B2 and the bottom line is – H2.
Put the left point wide measurements of poluobhvat neck, adding to her 5 mm (point B1). Aside from the points down To 7 cm (depth of the neck at the front for all sizes), point label B2. Connect the dots B1 and B2 smooth line, making the neckline of the front.
For the shoulder line will be left aside from a point In the segment is equal to AA3 (point P4). From this point, we drop down a perpendicular segment equal to the segment А3П (point P5). Connect the dots B1 and A5.
To put openings to the left of the point G3 is divided into two value measurements of poluobhvat chest minus one centimeter (point label G5). Then put up from the point G4 0,07 cut Г4П5 (point P6). Aside from the point G4 again 0,35 cut Г4П5 (A7 label). Aside right from that point of 2 cm and make a line of openings, connect the dots G5, P6, P7 and P5 a smooth line.
Side line shelves build in the same way as for the back.
4
Pattern-based dresses are ready. On it you'll be able to make a variety of dresses of thin or thick knitwear, knitted cloths or stretch fabrics.
Note
Building patterns the basics of dress: the front half. The construction starts from the right corner. To find this point from the first point (upper left) to postpone such a distance that is equal to the poluobhvat chest + add on the chest.
Useful advice
We offer a range of Building patterns-the basics of skirts, Building patterns-the basis of women's dresses, Building dress patterns-foundations of women's pants, Building patterns-foundations blouses, Building patterns-the fundamentals of men's shirts, the Construction of a pattern-basics jacket. Here you will find everything you need to build the pattern, with the most detailed, and most importantly, understandable! instructions.