You will need
- • A piece of fabric the desired length
- • Leaves with drawings of the finished patterns
- • Iron
- • The tape
- • Pencil
- • Line
- • Scissors
- • Tracing paper to transfer patterns
- • Tailor's chalk
- • Sewing pins
Instruction
1
First, in order to bash the product, it is easiest to use the ready-made drawings of patterns. Huge selection of drawings you'll find in fashion magazines with apps on the websites of craft online and on discs with specialized software for designing clothes.
2
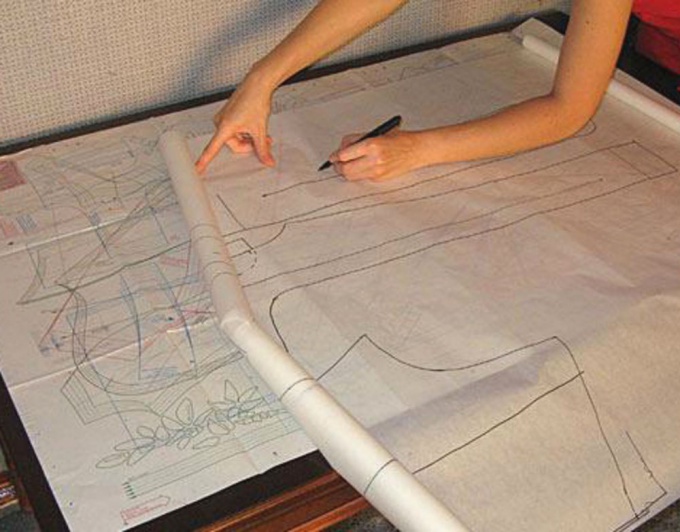
Going to the store for fabric, you are very right, if you have a set of ready-made patterns. For this you have to find the sheets with the drawings of the model you like and transfer them to tracing paper. Don't forget to determine your size and to make necessary adjustments to the pattern. Before transferring the pattern on tracing paper read the instructions of the pattern. Find the marking of the locations of parts of your product on the leaves and lines of the legend. The finished part cut with scissors strictly along the lines of the symbols. Not sure on every detail to draw a line grain lines shown on the drawings. According to these lines you will have to lay out the pattern on the fabric.

3
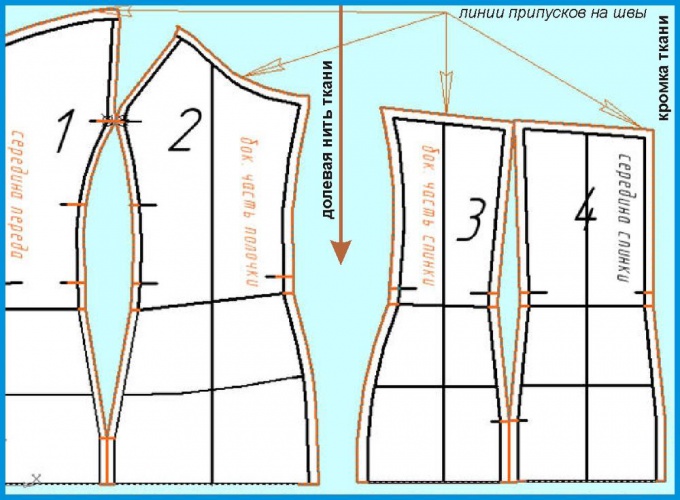
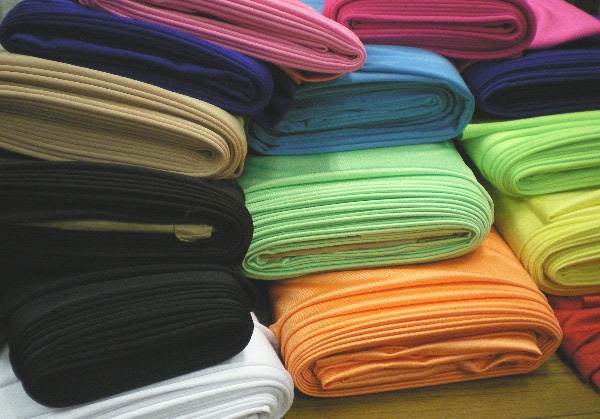
The store contact a experienced seller, which will help you calculate the fabric consumption or even to estimate the location of her patterns. Pay attention to some important details.• All parts of the product should be placed according to the line direction common thread. If you find it difficult to determine an equity line on the fabric, ask the help of the seller.• Plaid or large print accented require combining parts by drawing, so you may need a slightly larger consumption of tissue to cell lines or drawing clearly coincided at the seams.• Lint-free cloth or low tide can be cut, laying out the details of the product in opposite directions. This will help to save the consumption of tissue. This applies mainly to the pickup of such items as sleeves, wedges, flared skirts and trapezoidal elements.• Pile fabrics and fabrics with sheen, such as velvet, velour, suede, should be cut strongly in one direction of the NAP. Often manufacturers of such fabrics indicate in the accompanying documents recommendations for the direction of cut.• When buying fabric, prone to sitting, add to the cost of the product is 10%. On the properties of the fabric refer to the sales assistant.
4
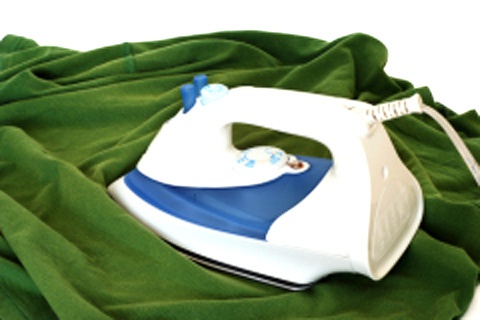
Buying the right amount of fabric, do not rush immediately to cut it. The fabric is prone to shrinkage, it is necessary to expose the so-called dekotirovaniem. This treatment method will help avoid surprises with shrinkage of the fabric. Woven fabrics of cotton, linen and blended fibers should be fully immersed in warm water, slightly wring out and dry to light moisture, iron iron. Silk and wool fabrics, moisten, spray, fold in half and keep it folded, then iron the iron through a thin cotton cloth on the corresponding tissue temperature.

5
Fold prepared by cutting the fabric twice for the equity line, and drop it on a hard surface. It can be a table or even a clean, flat floor. Displaying parts of patterns on fabric, keep in mind that they should not adjoin densely to each other, and to defend on the size of the seam. For each part of the pattern there are standard margins. The allowances of the side and shoulder seams are 1 to 2 cm from the edge of the product, stock on shelves to the waist line – 2-3 cm, allowances of the top part of the sleeve and the armscye curve – 1 cm hem sleeves – 2-4 cm, line the bottom of the product may vary depending on style, type fabric and method of processing bottom from 1 to 6 see Pin detail pins in several places to prevent shifting of parts and of fabric. Draw with chalk or a thin piece of soap all the details of the products thin continuous line, including the line of the Darts. Line allowances draw a dotted line. Cutting scissors product strictly according to the dotted lines of the seam. Line Darts are not cut. You can now remove the paper pattern. Transfer the line of Darts and seams on the opposite part. When cutting products using chalk, just do it. Fold and align the same parts wrong side inside, and place it on a hard surface. Moreover, the top must be detail already drawn with chalk lines. Pat slightly with the hand on the lines of the location of seams and Darts. Chalk outline are imprinted on the opposite part. It is possible to circle it with chalk.

Note
Always when cutting, pay attention for the required amount of detail. Usually this information is in the description of each model.
Useful advice
If you have very little experience in pattern cutting garment, first make a trial model of a simple tissue. After the first try, you can make adjustments to the pattern and then cut out the product from a good fabric with the changes.
