You will need
- Wooden slats, industrial or furniture stapler, wood saw, hammer, nails, PVA glue.
Instruction
1
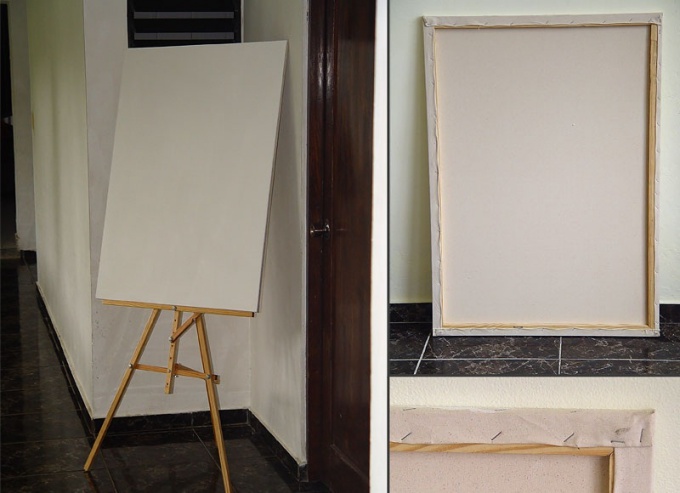
For the manufacture of sub-frame select and prepare the rack without knots and cracks, of rectangular cross section. One of the corners of the slats should be cut, then cut it into sections, using the carpenter's mitre box, so that when assembling the subframe that the beveled corner is turned inside, on the front side. This must be done in order to further the canvas turned out taut from edge to edge.
The outer dimensions of the stretcher calculate and sustain such that, after tensioning of the canvas (more will be added on the corners) it is easily included in the frame, but no gap when viewed from the front side.
The outer dimensions of the stretcher calculate and sustain such that, after tensioning of the canvas (more will be added on the corners) it is easily included in the frame, but no gap when viewed from the front side.
2
Now cut from the bar corners to strengthen the construction. Assemble the rail corners on the glue, leave to dry. When the glue is completely dry, additionally secure the subframe with the screws, trying to them through the rail into the corners.
If the parties to the subframe large enough, larger than 100х75 cm, they should be strengthened with a cross member, or even a cross, so that when you stretch the canvas rail does not lead, or not bent. Pick up for this rail with a cross section smaller, so they don't seem to fit with either the front or rear side.
If the parties to the subframe large enough, larger than 100х75 cm, they should be strengthened with a cross member, or even a cross, so that when you stretch the canvas rail does not lead, or not bent. Pick up for this rail with a cross section smaller, so they don't seem to fit with either the front or rear side.
3
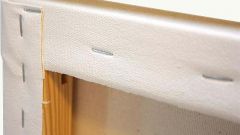
Pull the paper slightly moistened with water, grabbing on the back staples with a stapler, as it dries, the waves, which appeared as a result of slight unevenness of tension, will be relaxed. Canvas pull on with a visible effort, before taking one longer side of the rear of the structure, oriented with its fibers parallel to the sides of the subframe. Clip it on the back side is the same as Whatman.
The angles form a neat, nice, no big bumps, the glue, after reinforcing brackets.
The angles form a neat, nice, no big bumps, the glue, after reinforcing brackets.
6
Paste over the entire back surface of the sub-frame thick paper so that the edges do not protrude beyond the limits. After the glue has dried cut away inside the excess with a razor blade or thin knife. Now your subframe is ready, you can begin the creative process!
