You will need
- - 2 wooden bar
- - the jigsaw tree
- - sandpaper
- - a half-sheet of plywood
- - screws
- - 2 loops
Instruction
1
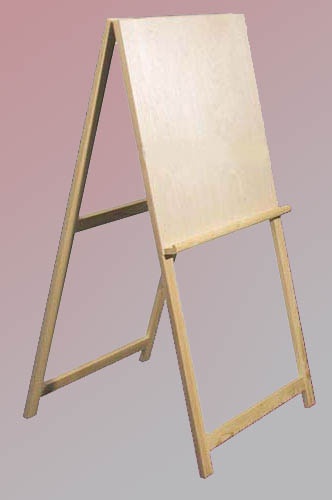
For a start, compile a list of parts and their size. This easel has a very simple design. It is easy to use, lightweight and takes up little space, which is important during its transportation.
You don't have to draw any complicated schemes for the Assembly. It consists of four wooden bars, plywood sheet.
The easiest way to buy on the market four lumber 2 by 6 inches and a height of two meters, a sheet of 3 mm plywood 100 by 60 inches. Two small hinges and screws will need to bond the two halves of the easel.
Next you need to determine the height. Behind the easel should be easy to work with. If you are doing it for themselves, then sit on a chair with a sheet of plywood, the future of the working plane and position it at a comfortable height for you.
The average height of an adult easel, firecrackers, ranges from 140 to 170 centimeters. Easels are divided into standing and sitting. And are intended to work standing and sitting, respectively.
If you make an easel for your child, then its size will depend on the age of the young artist.
Will opalite four slats to a selected area. They will become the legs of the easel. The saw cut should be smooth, and the legs are the same height, check.
You have four pieces cut from bars. They will go to bond's legs. Measure and cut them to the desired width. It should match with the width of the plywood sheet.
Complete all parts with fine sandpaper. Abrade them so that it was not possible to drive a splinter. After this Assembly operation is performed uncomfortable.
2
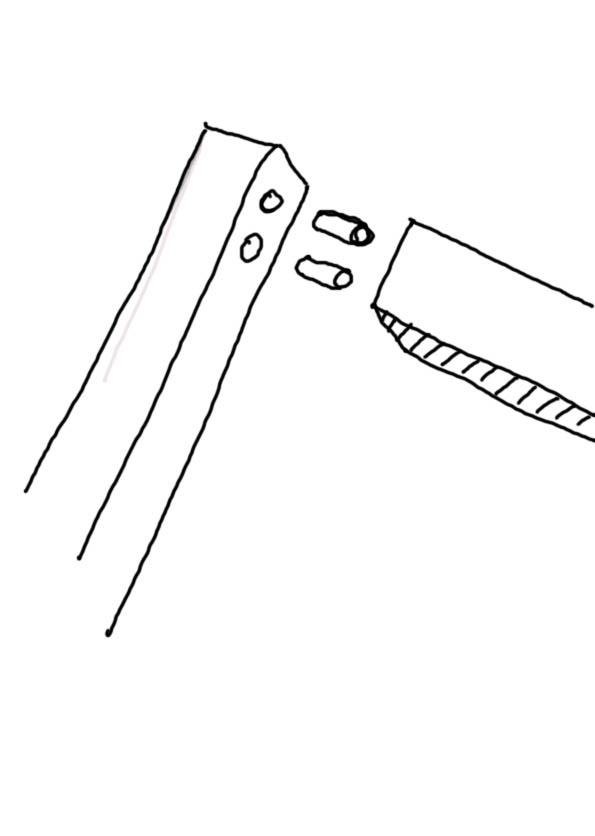
Collect part. The legs can be fastened with a wooden Tchepikov. It is the most reliable method.
Drill two shallow 1 - to 2 - centimeter-wide drill holes in the end slats and place on the stem where you want to mount. Make two round Chepik and smear them with glue and staple items. Chepik must come with some force.
Fasten the legs in the middle and at the top.
You can seal and screws samorezami, this option is simpler, but the design will be less durable. You should now have two identical pairs of legs. Seal their top two loops of about 5 cm from the edge. Hinge screw screws into the body of the cross rail. On one side of the screw the sheet of plywood on the screws.
3
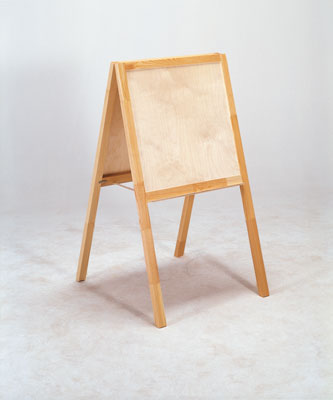
For convenience to the bottom of the sheet of plywood you can screw another rack. There you can put your pencils and eraser.
Color or paint your easel. So it will last longer and looks to be prettier.
Color or paint your easel. So it will last longer and looks to be prettier.
Useful advice
For work it is better to use carpenter's glue. The glue will dry faster in a warm dry room.