You will need
- logs, beams, boards, roofing felt, slate nails, staples
Instruction
1
Prepare thin beams of 100x100 mm, the two edged Board (the thickness of the first 25 mm, the second section 150х50 mm). You will also need slate, roofing felt, nails and staples.
2
Since the construction of the shed everyone takes a different amount of time, you need to make a temporary support of brick. This will protect the lower harness from the damp. On the supports place the waterproofing.
3
Lay thin logs. Fabricate gusset and in places of fastening nail.
4
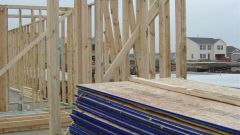
Install the rack. Their number depends on the size of the building. To be fastened with nails or temporary braces diagonally at an angle of 45 degrees.
5
Rack, install the top rail and nail. The edges of the top binding on the back and front side of the shed should be 250 mm.
6
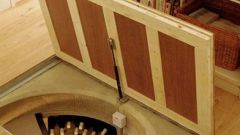
The top rail cover of the crate. Top cover with roofing material. Fasten the slate.
7
Take the timber 50x50 mm and install it as a permanent struts. They should be placed at the corner uprights, diagonally. Where will be situated door, also install the rack. It will secure the bolt. Get the opening in which to fit the door frame.
8
Rack, barn nail boards. However, if you use edged Board, nail it tightly. A Board edging when laying alternate. First, put a beveled edge of a Board to itself, then – from himself.
9
The walls of the barn finished. It remains to sheathe their roofing material from the outside bottom up. The upper edge of the roofing felt should overlap the lower. This covering will protect the shed from natural phenomena and precipitation.
10
For thin beams bottom piping, overlap the floor boards. Hang the door. Install the lock.
11
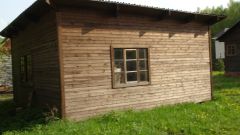
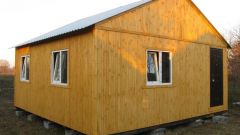
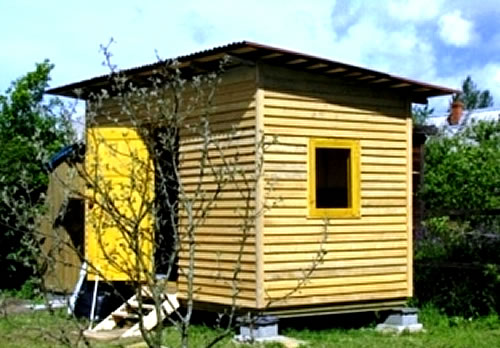
See how to build a shedwhere you can store various things and tools, it is easy. Of course, his appearance is not too attractive, but that's for the best. Thieves are unlikely to pay attention to it, and so the estate will remain intact.