You will need
- - soldering iron or glue;
- - acetone;
- - sponge;
- - emery;
- - fiberglass;
- - wire-solder;
- - clamp or masking tape;
- - fittings;
- primer for plastic;
- - dye;
- Lac.
Instruction
1
Find out the composition of the plastic - marking shall be marked on the underside of the products (for example, PA - polyamide or PP - polypropylene). It is important to study the properties of this material, as this will depend on the type of repair – bonding or welding. Polymers-thermoplastics (acrylic, polyethylene, polypropylene, etc.) can be easily recycled. But to melt the so-called thermosetting plastics (in their composition of phenolic-formaldehyde, epoxy and other resins and fillers) you will not succeed. You will need a special glue.
2
Choose the building material to the adhesive, epoxy resin for this type of plastic and consult with a competent seller. Definitely stick to the manufacturer's instructions. Scuff the surfaces, clean them from dirt and degrease with acetone. You can glue a fault directly on a seam, or pre-strengthen it with fiberglass.
3
Use for soldering leaky plastic part wire-solder identical chemical composition. Treat working parts sand paper a centimeter from the edge, since the welded part will have to intrude on the left allowance for weld strength. Collect shattered into pieces by the plastic and tighten the clamp (fixing tool) or masking tape.
4
Start to solder a thin plastic with a "face" to the viewable surface is not made of ugly hill. To repair the plastic denser composition can be directly on the reverse side. Slide the soldering iron along the crack; apply the solder and it vplate in the thickness of the softened material. Turnover of work, you can use a thicker wire.
5
Some artists combine spike plastic with the reinforcement (reinforcement design). It is recommended to buy a special brass or bronze mesh (about 0.2 mm in thickness). The reinforcing material is cut into strips of the desired size. Your task is to attach the amplifier to the inner surface of a chip and (heating up the plastic with a soldering iron) to drown him in molten material.
6
Prepare for cosmetic repair of plastic. Glued or sealed, the surface should be clean, sanding with emery paper No. 1000 and wipe with acetone.
7
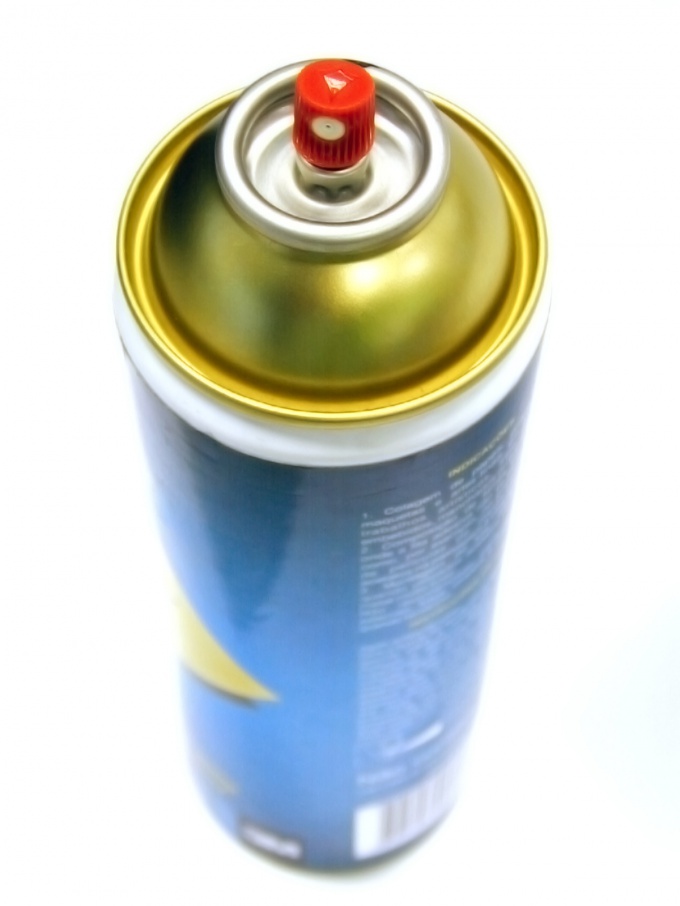
Shake the container of primer for plastic, retraite it for 10 minutes and apply on damaged part with a distance of 20 cm If the instructions on the package has different instructions, be sure to follow the advice of the manufacturer. Plastic cover with 2-3 layers of soil (depending on depth of damage), let it dry, and again walk through the product with sandpaper and acetone.
8
The final stage of repair of plastic will be spraying the special dye. Make sure it is designed specifically for this material. Apply the required amount of decorative layers, before each new let previous coating to dry for 15-20 minutes. If necessary, in an hour after painting, cover the product with varnish. You have managed to repair plastic, but until it is fully dry it must be protected from dust and other contaminants.


