You will need
- - "dog" (runner);
- needle;
- the thread in the color of the zipper or clothing;
- - sewing machine;
- - scissors;
- - pliers or pliers;
- - flat-head screwdriver.
Instruction
1
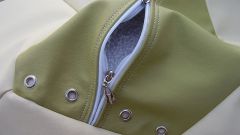
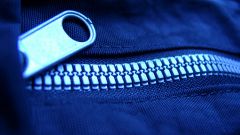
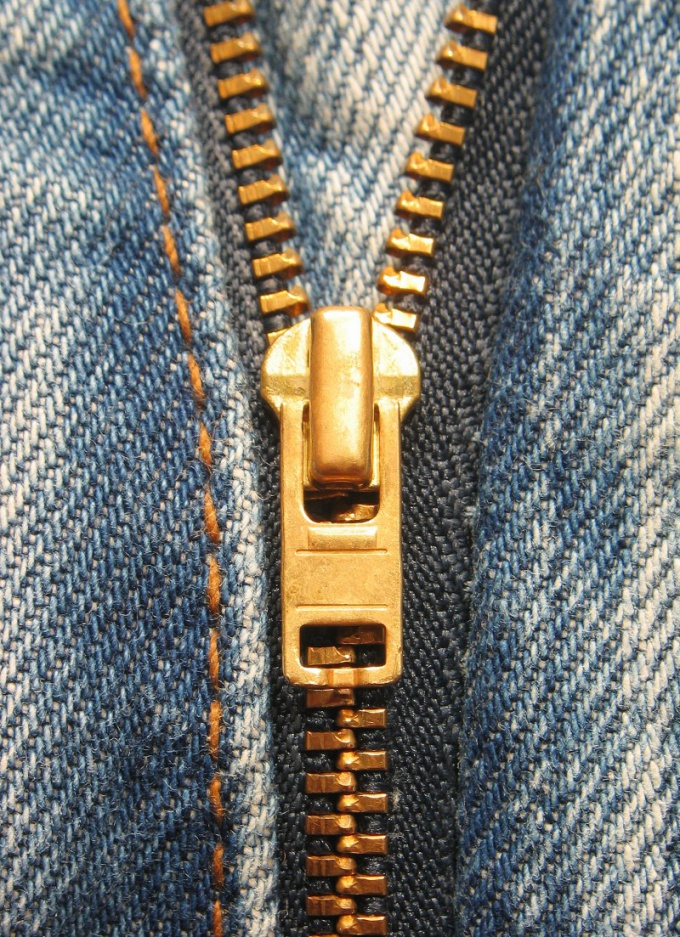
First, pick a "dog" to fit the zipper. To do this, take an old broken slider and inspect it – on the back side you will see the number. Buy or pick up a runner with the same number. You can use old fashioned with zippers "dog", if it is in good condition.
2
To put "dog" with a zipper closed with one hand, remove the clip connecting the two textile tapes. Using a flat screwdriver or pliers carefully bend the curved teeth, trying not to break them, and remove the bracket.
3
Connect the halves of the zipper with a closed hand and gently pass the "dog". To make it easier to udavalas, you can very carefully widen the hole in the center with a screwdriver. Ensure that the teeth are bonded symmetrically.
4
Slide the slider up again to check the symmetry and fasten the two pieces of the zipper with a few stitches in place of mounting bracket, then secure it in the same place. If zipper buckle unravels to squeeze the middle with pliers or locking pliers.
5
To put the slider in a detachable zipper, fold back limiting the bracket to the top of one of the ribbons. Just remove the bracket with only one tape – the one on the opposite end is equipped with a special socket.
6
Pass the runner at the tape and fix the limiter back. For reliability, you can stitch in this place with a few stitches, select the thread to the fabric color.
7
If possible, remove the bracket from the end of the zipper (for example, the end of the zipper is neatly sewn in the product and rip it is not possible), try to do so. On the ribbon, open a plastic (or metal) teeth and try to push the runner inside.
8
In an extreme case, break one of the teeth (closest to edge) and vdev "dog", hit that spot with a few stitches or a metal limiter. If this is not done, the slider every time to go arrived at the destination.