You will need
- - the user manual for your laptop;
- - instructions to the program voice communication;
- - screwdriver set.
Instruction
1
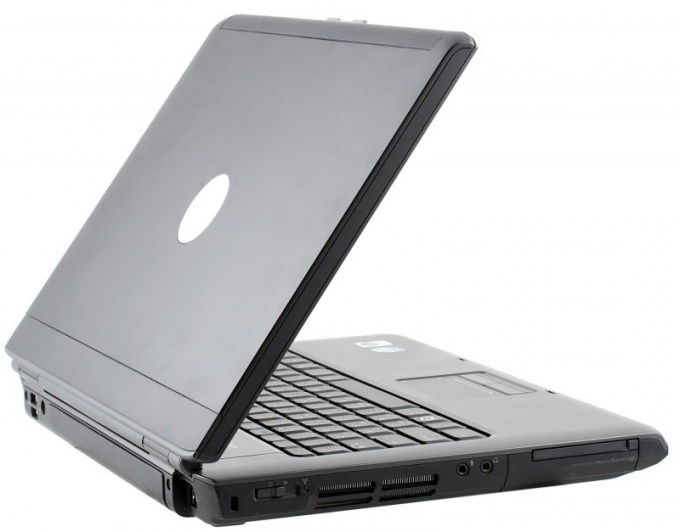
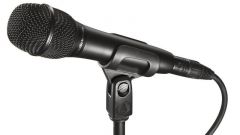
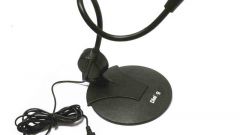
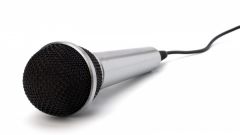
Read the user manual of your portable computer. All models laptops individual. Some have a separate key is responsible for switching on and off the built-in microphone, others do not. As a rule, the modern notebook has a built-in microphone in addition to a dedicated line output, through which you can connect an external microphone.
2
On most modern models have a hardware switch. Thanks to this device does not need to make any changes to the settings. The system will automatically shut down built-in microphone as soon as you connect the external via the line output of your laptop.
3
Click "start menu" and select "control Panel". Next click "Sound". At the top select the tab "Recording". You will now see a list of working MICS. Usually there's two of them – "Microphone" (it's embedded in your phone device) and "line"(the external microphone that you have connected to the laptop).
4
Double click the left mouse button, go built-in microphone. At the bottom there's a "device usage". In the drop-down menu select "do Not use this device (disabled.)
5
Then click "Apply" and "OK". Now your built-in microphone is turned off. This sequence is relevant to portable computers that are running Windows 7 other operating systems this may vary slightly.
6
Also you can temporarily switch off the built-in microphone directly from the interface of practically all software for voice communication. It is necessary to read the user manual to this program. In most cases you just need to press a specific button in the program window.
7
Turn off built-in microphone mechanically in that case, if you want to be safe from his arbitrary inclusion or from unauthorized access to your machine. For this you need to disconnect the microphone from the internal connector.
8
Find sound hole. If it is located on the laptop monitor, then disconnect only need to remove the front bar. Disconnect all plugs. Underneath them, locate the bolts.
9
Gently Unscrew them. Then open the latch with a plastic screwdriver or credit card. Locate the microphone and gently pull it from its slot, unplugging the pad.
10
If the microphone is located on the bottom of the laptop, produce a partial dismantling of the case and in the same way, disconnect the microphone.
11
The microphone can be completely pulled out or leave inside the case, just disabling the block.


